

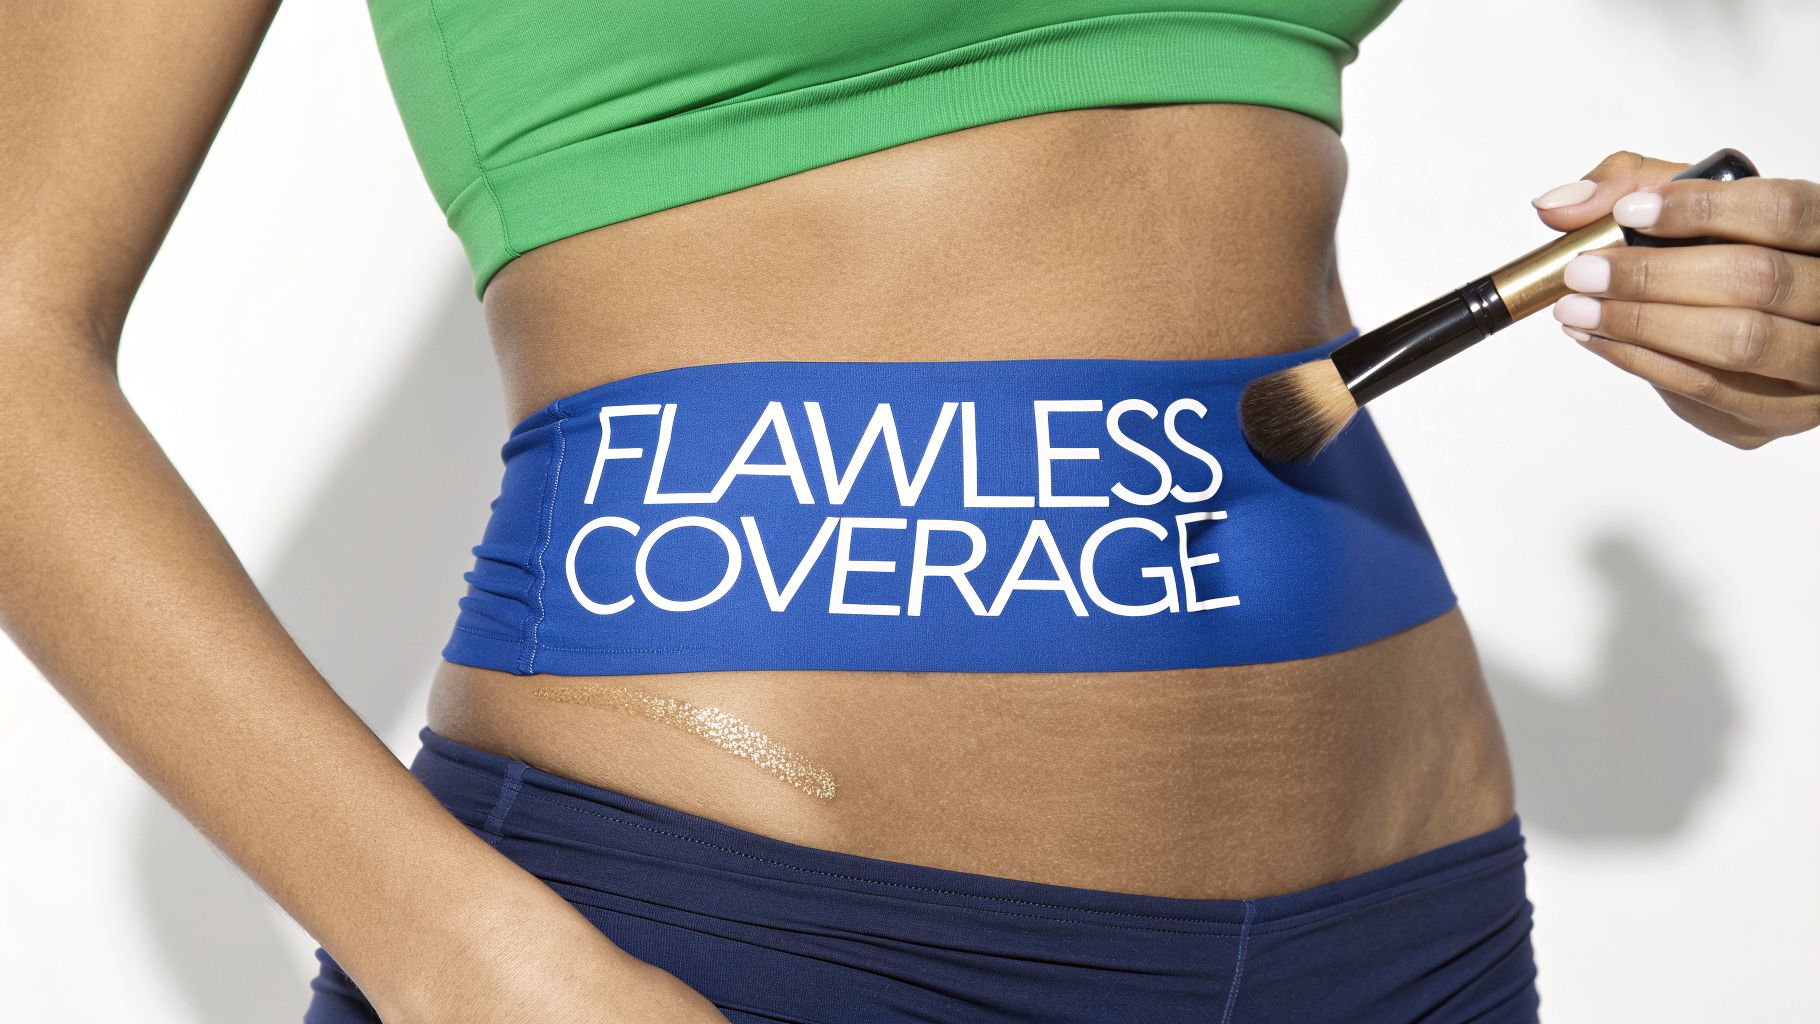
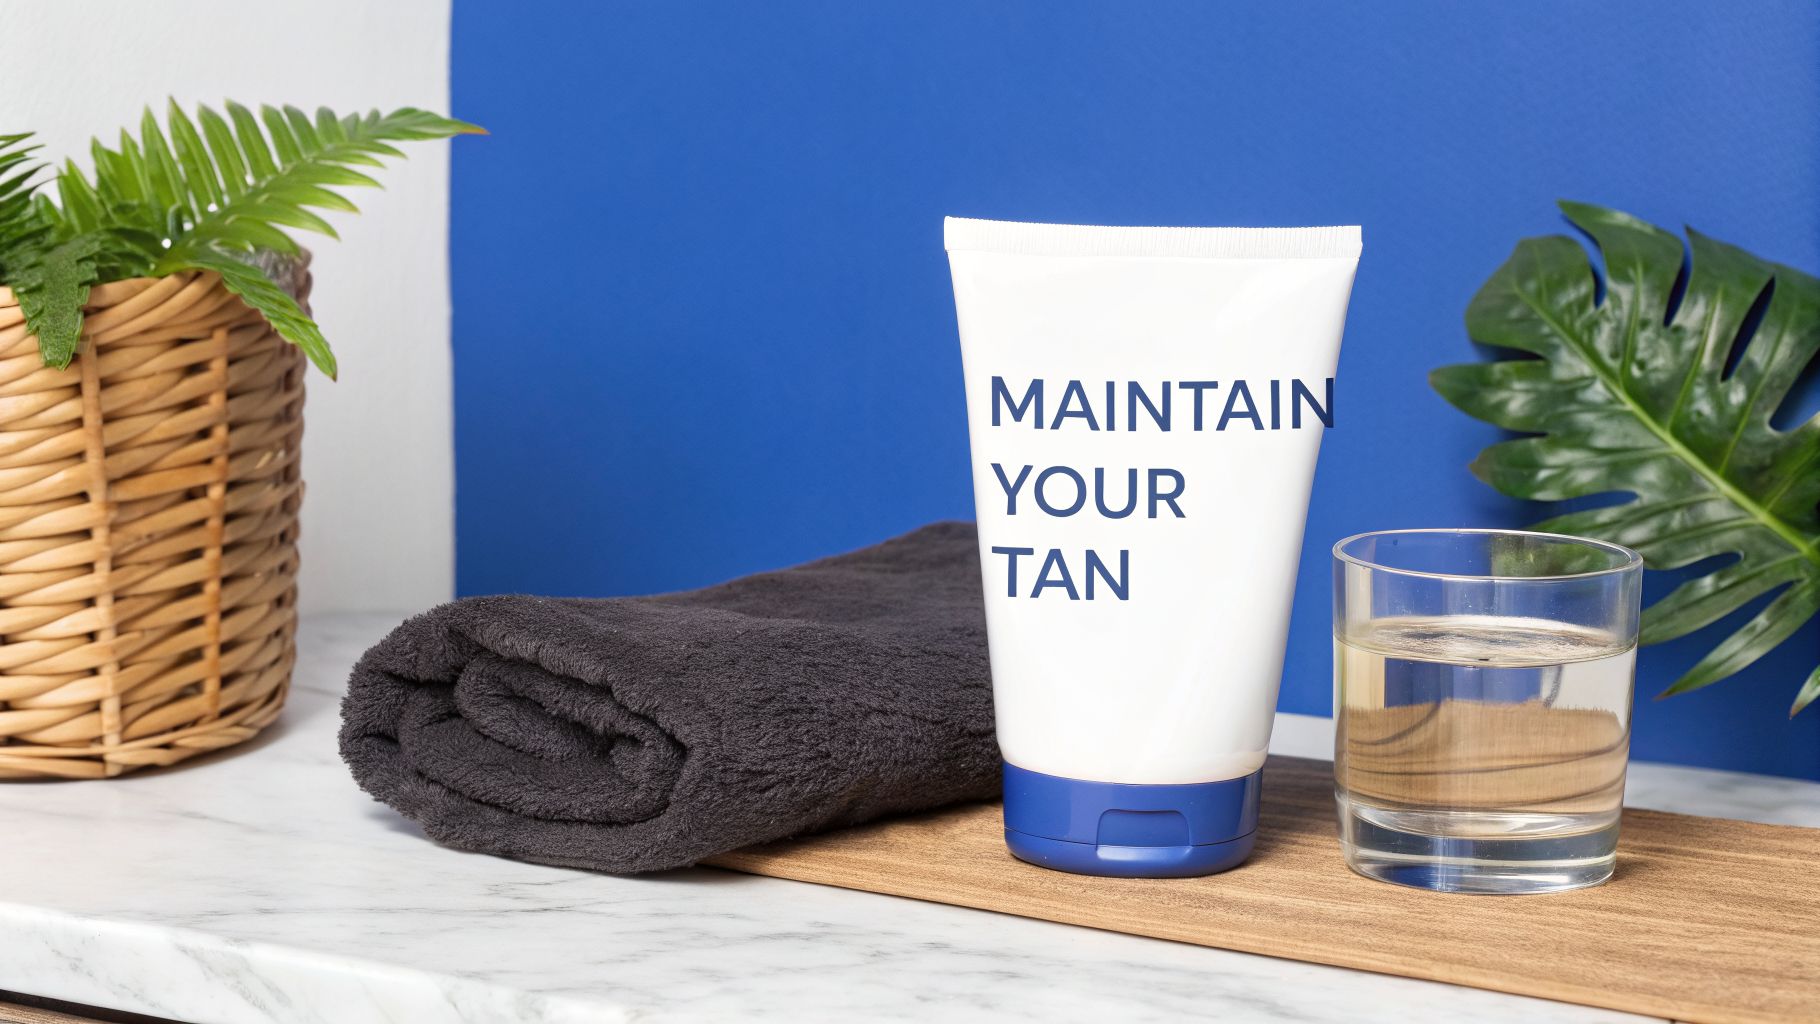
Using a good self tanner for stretch marks is one of the simplest and most effective ways to create a more even, uniform skin tone. It’s a cosmetic fix that works by coloring the very top layer of your skin—including the scar tissue that forms stretch marks—to blend everything together.
How self tanner camouflages stretch marks
If you've ever gotten a natural tan, you’ve probably noticed something frustrating: your stretch marks seem to pop. This happens because stretch marks are a form of scar tissue. Unlike the rest of your skin, they lack melanocytes—the cells that produce pigment (melanin) when you're exposed to UV light.
So, as your surrounding skin gets darker in the sun, your stretch marks stay the same pale color. This sharp contrast makes them much more obvious.
Choosing self-tanner over sun exposure is a safer and more effective strategy for camouflaging stretch marks. Here’s a quick comparison to see why.
Self tanner vs sun tanning for stretch marks
| Method | Effect on stretch marks | Mechanism | Safety | Result |
|---|---|---|---|---|
| Self Tanner | Camouflages and blends their appearance. | Stains the top layer of all skin, including scar tissue, creating a uniform color. | Safe; avoids UV radiation exposure. | Stretch marks become less noticeable. |
| Sun Tanning | Makes them more prominent. | Tans the surrounding skin but not the stretch marks, increasing contrast. | Risky; involves exposure to harmful UV rays. | Stretch marks stand out more. |
As you can see, self-tanner provides the cosmetic benefit you're looking for without the risks and counterproductive effects of sun tanning.
The science behind the glow
Self-tanners offer a brilliant workaround. The active ingredient in most formulas is Dihydroxyacetone (DHA). DHA is a simple carbohydrate that interacts with the amino acids in the dead cells on the outermost layer of your skin.
This chemical reaction, known as the Maillard reaction, creates brownish pigments called melanoidins. These pigments temporarily stain the skin, giving you a tan-like appearance without any UV exposure.
Because this process colors the surface of the skin, it works on the scar tissue of stretch marks just as it does on the skin around them. It’s why a self tanner for stretch marks is so good at blending the two together for a seamless look.
For the 80-90% of women who have stretch marks, natural tanning can make them 30-50% more prominent. Self-tanners with DHA safely create a consistent color, effectively camouflaging both new red marks and older white ones.
New marks vs. old marks
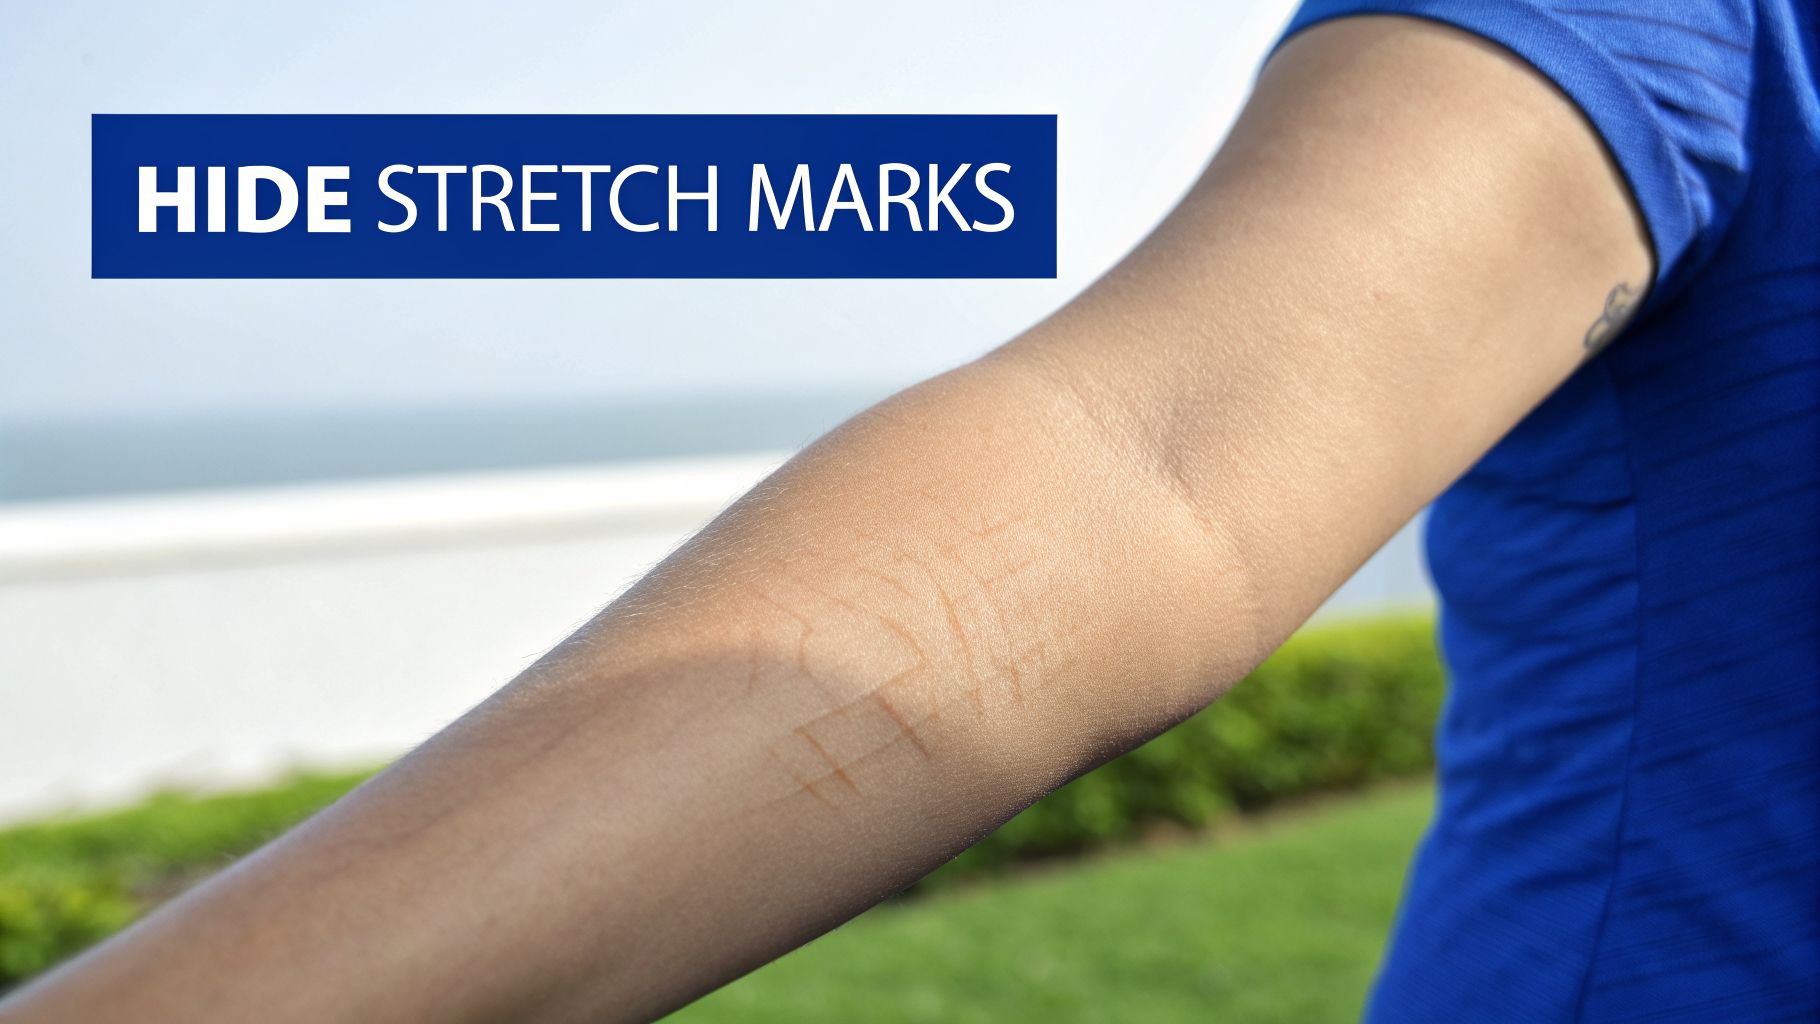
Self-tanner works on both newer, reddish-purple marks (striae rubra) and older, silvery-white ones (striae alba).
The goal isn’t to make the marks vanish completely, but to minimize the color difference between them and the rest of your skin. By applying an even layer of color, the self-tanner darkens the lighter scar tissue, making it far less noticeable against your natural skin tone or your new faux glow.
If you're interested in other methods, you can learn more about different ways of covering up stretch marks in our related guide.
Choosing the right self-tanning product
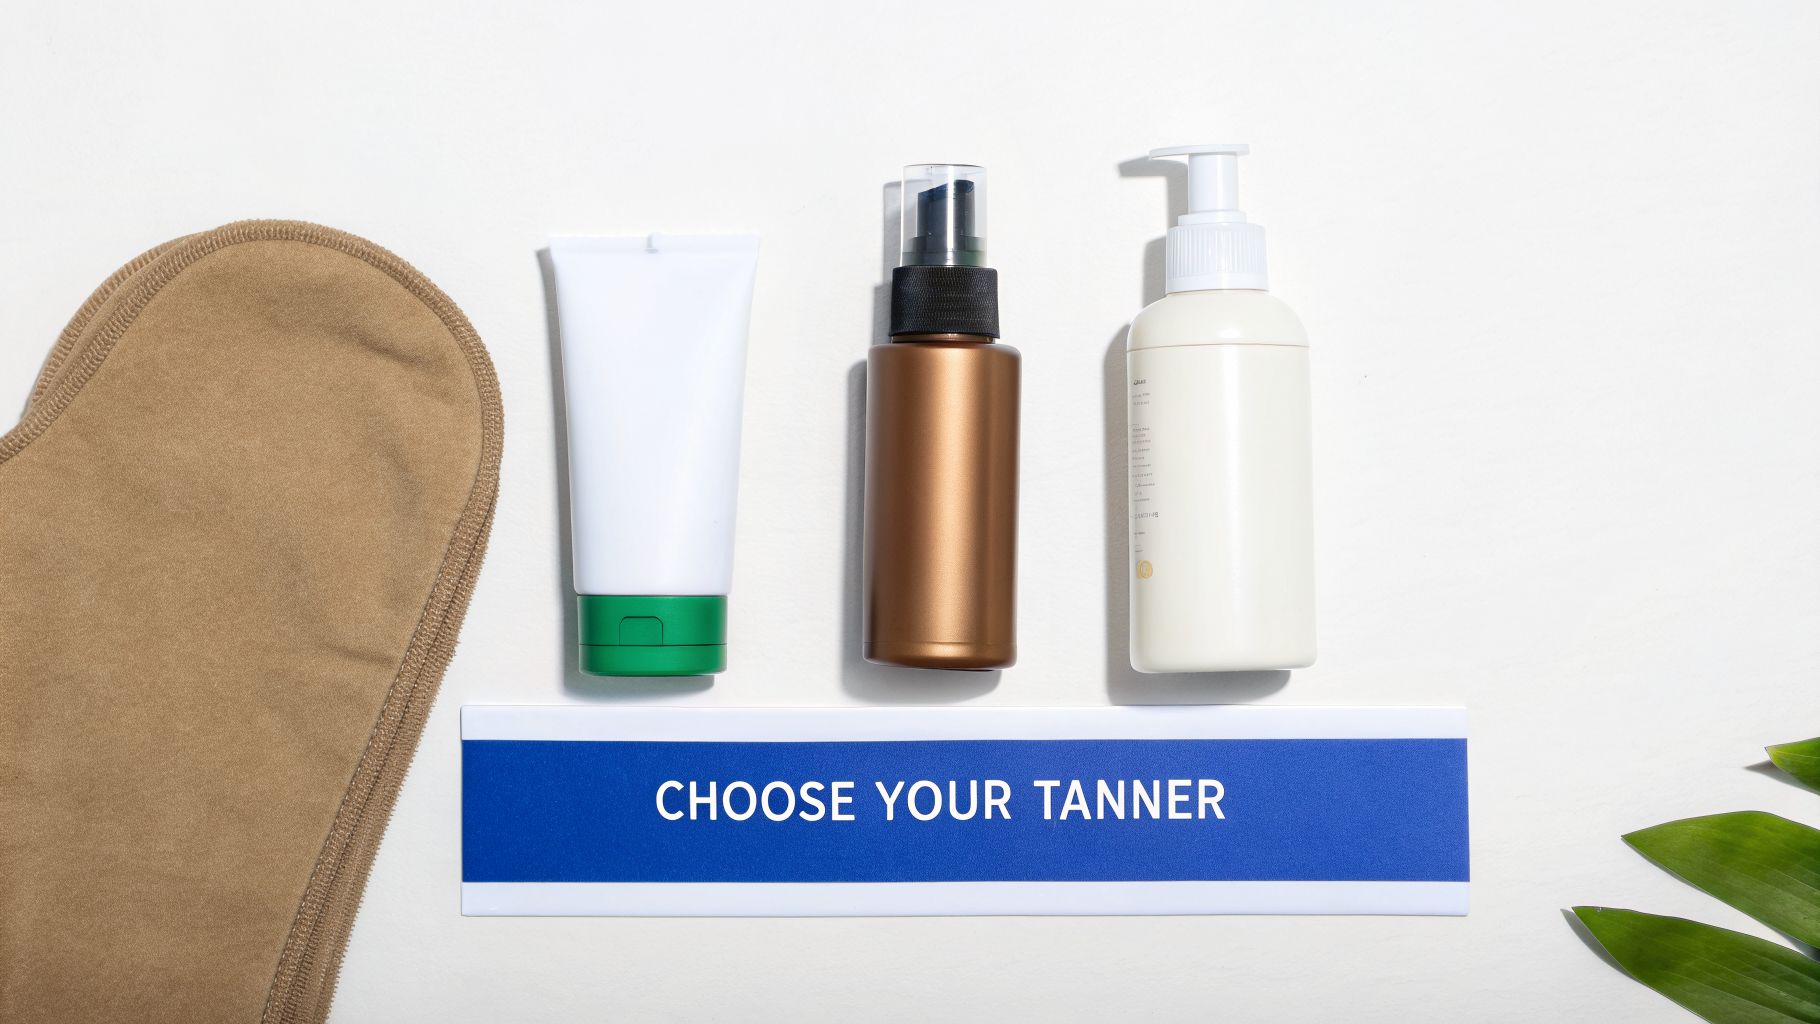
A flawless, natural-looking finish starts with selecting the right formula. With options like mousses, lotions, and sprays, picking the best self tanner for stretch marks comes down to your skin, your comfort level, and the specific result you’re aiming for.
Each product type has a distinct advantage. A lightweight mousse, for instance, dries quickly and often includes a guide color, making it easy to see where you’ve applied it and avoid streaking. Lotions are typically more hydrating, which allows you to apply them like a daily moisturizer for a more gradual, forgiving result.
A common mistake is choosing a shade that is too dark, which can look unnatural and draw more attention to the area. For the most seamless blend, always select a color that mirrors how your skin would tan naturally in the sun.
Formulas and ingredients for stretch marks
When you’re working to camouflage stretch marks, the ingredients in your tanner are as important as the shade. Because scar tissue is often drier than the surrounding skin, it can absorb color unevenly.
Look for products that focus on hydration. Hydrated skin creates a smoother canvas, which helps the tanner develop evenly across both the stretch marks and the rest of your skin.
Key moisturizing ingredients include:
- Hyaluronic Acid: A powerful humectant that draws moisture into the skin, helping to plump and smooth its appearance.
- Glycerin: Another effective moisturizer that creates a supple surface for an even tan application.
- Aloe Vera: Known for its soothing properties, aloe vera can help calm the skin while providing light hydration.
Dehydrated stretch marks can appear up to 60% more prominent. Using a self-tanner formulated with built-in moisturizers helps hydrate this scar tissue, making it far less visible as the color develops. As a general rule, older, white or silvery stretch marks—which affect over 50% of women post-30—tend to camouflage more effectively than newer, red or purple marks.
If you’re new to self-tanning or prefer a more controlled approach, a gradual tanner is an excellent choice. These formulas contain a lower concentration of the tanning agent DHA, allowing you to build color slowly over several days. This method minimizes the risk of mistakes and gives you total control over the depth of coverage.
For those considering a professional service, it’s also worth exploring whether spray tans can successfully cover stretch marks.
Your application guide for flawless coverage
Getting that perfect, even glow over stretch marks comes down to technique. It’s more than just slapping on some tanner and hoping for the best; it involves smart prep, precise application, and a little patience.
I think of the process in three phases: preparing the skin, the targeted application itself, and the post-tan care. Nail each of these stages, and you'll get the seamless, natural-looking finish you're after when using a self tanner for stretch marks.
Skin preparation the day before
A beautiful tan begins with a prepped canvas. This first phase needs to happen about 24 hours before you plan to apply any color. Giving your skin this time to calm down and let pores close is important for avoiding the spotty, dotted look that can ruin a good tan.
The main goal here is to get rid of any dry, dead skin that could lead to a patchy result.
Exfoliate Well: Grab a gentle body scrub or an exfoliating mitt and go over the entire area you’ll be tanning. You want to create a smooth, even surface, but be gentle when you get to the stretch marks themselves—scar tissue can be delicate.
Hydrate Key Areas: After your shower, apply a good oil-free moisturizer. Pay extra attention to the stretch marks, as properly hydrated skin will accept the tanner much more evenly. Don't forget other dry spots like your elbows, knees, and ankles.
A quick but important tip: stay away from any oil-based scrubs or lotions during your prep. Oil creates a barrier on the skin that stops the tanning agent, DHA, from developing properly, which can leave you with a weak or splotchy tan.
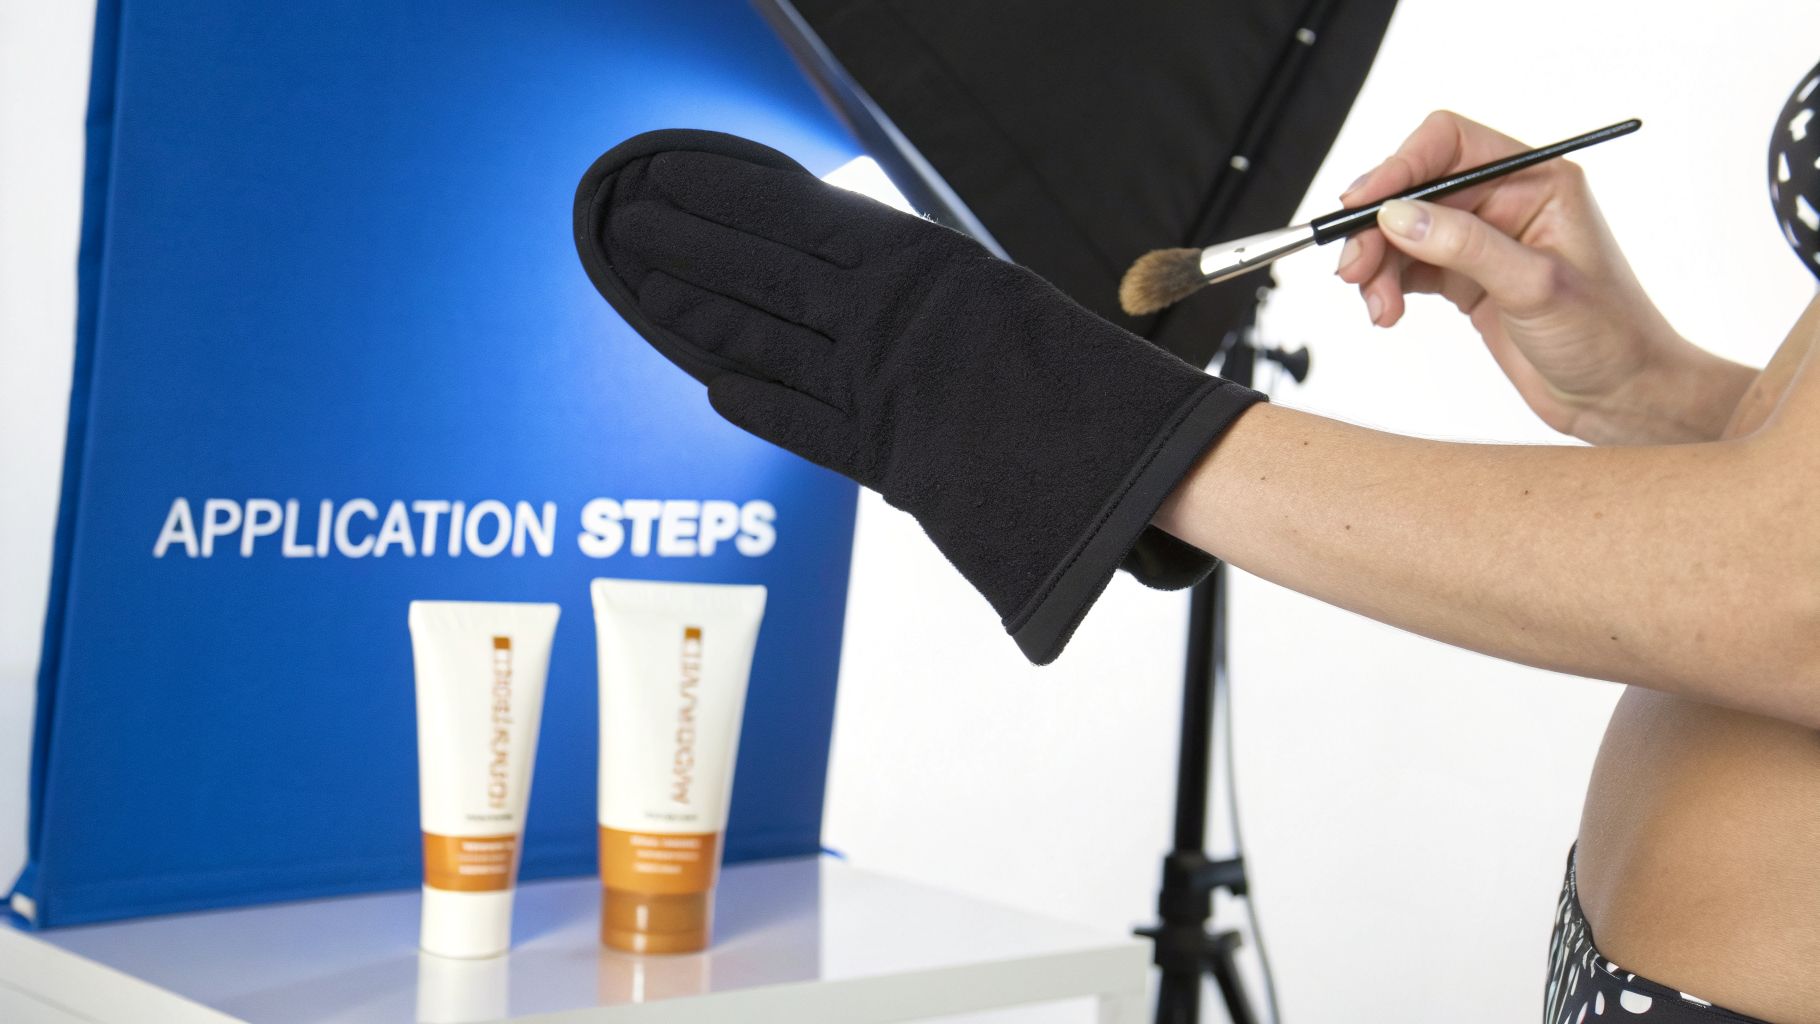
The application process
This is where your artistry comes into play. You'll need your self-tanner, a tanning mitt for the bigger areas, and a small, clean makeup brush—a foundation or concealer brush works perfectly for the detail work.
Make sure you’re starting with clean, totally dry skin. Don’t apply any moisturizer on tan day unless you're using a specific barrier cream on problem areas.
Start with the details
Before you go in for the full-body coat, address the stretch marks directly. Since they're lighter than the surrounding skin, they need a head start to catch up on color.
Squeeze a small amount of your tanner onto a palette or a small plate. Dip your makeup brush into the product and carefully paint it right onto each individual stretch mark. Try to feather the edges out a bit so you don't create any hard, obvious lines. This little step gives that lighter scar tissue a concentrated dose of color.
Move to the full-body coat
Once you’ve detailed the stretch marks, it's time for the main event. Put some self-tanner on your mitt and sweep it over your body using long, even strokes. Using a mitt is non-negotiable in my book; it’s the only way to guarantee a streak-free finish and avoid those tell-tale orange palms.
When you tan over the areas where you just painted the stretch marks, use a much lighter touch. The idea here is to blend everything together seamlessly, not to pile on another thick layer of product.
Aftercare and development
With the tanner applied, the waiting game begins. The color will slowly develop over the next few hours, so how you treat your skin during this time is critical.
Drying Time: Let the tanner air dry completely before you think about getting dressed. This can take anywhere from 10 to 30 minutes, depending on the formula.
Smart Clothing Choices: Wear dark, loose-fitting clothes. Avoid anything tight, like bra straps or waistbands, that could rub against the tan and create lines.
Development Window: Most self-tanners need about 6-8 hours to fully develop. During this window, you must avoid water and any activities that make you sweat.
The First Rinse: When your time is up, hop in for a lukewarm shower. Don't use any soap or body wash. Just rinse until the water runs clear, which gets rid of the cosmetic guide color. When you get out, gently pat your skin dry with a soft towel.
Following this plan for prep, application, and aftercare will help you use a self tanner for stretch marks to achieve a beautifully even and confident glow.
Advanced techniques and pro tips
Once you've gotten the hang of the basics, you can start using a few pro-level tricks to perfect the finish. These methods are about building color strategically and fixing small imperfections to create a truly seamless, natural look.
For those extra-stubborn or very pale stretch marks, a single layer of tanner sometimes isn't enough to close the color gap. The secret here is intelligent layering.
After your first application has fully developed (and you’ve had your first rinse-off), give it a full 24 hours. Then, go back in with another very light, targeted layer just over the stretch marks to gradually build the depth until it melts into your surrounding skin tone.
Correcting and blending imperfections
Even the most careful application can sometimes result in a spot that’s a little too dark or a line that isn't perfectly soft. Don’t worry; these are surprisingly easy to fix.
If you notice an area looks too saturated, you can gently buff it down. Just take a damp cloth or a cotton pad soaked in a gentle micellar water and lightly rub the spot. This will lift just enough of the excess color to soften the effect without stripping your tan entirely.
Professionals have long known that the right technique can make all the difference. In fact, 90% of spray tan experts agree that self-tanners are highly effective at reducing the visibility of stretch marks. Client feedback from UK surveys even shows a 75% perceived improvement in skin evenness after a professional application. You can discover more insights on how the pros handle tanning over scars and stretch marks at ProfessionalBeauty.co.uk.
Insights from professional tanning experts
Spray tan artists are masters of camouflage. One of their key techniques is creating custom-blended solutions to precisely match a client's unique undertones. You can mimic this at home by mixing two different self-tanner shades to create your own perfect match.
Another trick they use is contouring. By artfully applying a slightly darker shade in certain areas, an artist can create an optical illusion that makes stretch marks appear even less noticeable. It works on the same principle as makeup contouring, using light and shadow to redefine and conceal.
Ultimately, the quality of your results will always come back to the health of your skin. Improving your skin’s texture and circulation creates a smoother, more receptive canvas for any tanner.
For example, treatments like the Vacustyler are designed to improve skin quality by supporting healthy blood flow. This leads to healthier skin that allows your self-tanner to develop more evenly for a flawless finish. When your skin is in top condition, any cosmetic application, including a self tanner for stretch marks, will simply look better.
Maintaining your tan and long-term skin health
A flawless application is just the beginning. The real secret to keeping those stretch marks camouflaged and your skin looking beautifully even lies in a smart aftercare routine. This isn’t just about making your color last; it’s about supporting your skin’s health for the long haul.
Your tan’s lifespan is tied directly to your skin's natural cell turnover rate. With proper care, you can expect that golden glow to last for about 5-7 days. Without it, you’ll see a patchy, uneven fade that brings your stretch marks back into focus far too soon.
Daily moisture is non-negotiable
Hydration is the single most important part of your maintenance plan. When your skin gets dry, it sheds cells more quickly, and your beautiful, even color flakes right off with them.
This dryness can also make the texture of stretch marks more pronounced, which defeats the purpose of your careful application. To prevent this, commit to moisturizing your entire body every single day, right after you shower.
Pro Tip: Your tan lives on the very top layer of your skin. Daily moisturizing slows down this natural exfoliation process, effectively "locking in" the color and ensuring it fades evenly and gradually.
Choosing the right moisturizer is critical. You need a product that delivers deep hydration without interfering with the DHA-treated skin cells.
Here’s what to look for when selecting a tan-friendly moisturizer:
- Go Oil-Free: Heavy oils and oil-based lotions can break down the tanning agent on your skin. This causes your color to fade prematurely or become splotchy.
- Avoid Harsh Exfoliants: Steer clear of products containing AHAs, BHAs, or retinoids on the areas you’ve tanned. These ingredients are designed to speed up cell turnover and will strip your color right off.
- Look for Simple Hydrators: Ingredients like glycerin and aloe vera are perfect. They keep your skin supple and hydrated without compromising the integrity of your tan.
Prepping for your next application
As your tan begins to fade, you need to prepare your skin for its next cycle. Never just apply a fresh layer of tanner over an old, fading one. This is a fast track to product buildup and a blotchy, unnatural look.
Instead, once your tan is about a week old and starting to look a little uneven, it's time to gently exfoliate. Use a soft washcloth or a mild, non-oily scrub to slough away the remaining color. This creates a fresh, clean canvas for your next application.
This consistent cycle of care and reapplication is the key to successfully using a self tanner for stretch marks long-term. For more tips on extending your color, check out our detailed guide on how to make spray tans last longer.
Frequently asked questions about tanning and stretch marks
Even after mastering the techniques, it's natural to have a few lingering questions. Let's walk through some of the most common concerns I hear when it comes to using a self tanner for stretch marks. Getting these answers straight will give you the confidence to get the smooth, even finish you're looking for.
Will self tanner completely hide my stretch marks?
Let's set some realistic expectations. No self-tanner will make your stretch marks vanish entirely. Think of it as expert-level camouflage, not a complete cover-up. The real goal is to shrink the color difference between the lighter scar tissue and your skin, which makes the marks dramatically less noticeable.
When you get the application just right, you can blend them so seamlessly that they become very difficult to spot. Just remember, the texture of the stretch mark itself will still be there.
What should I do about new, red stretch marks?
Newer stretch marks that are still red or purple are a different ballgame than older, white ones. That color means they are still in an active, inflammatory stage, so they need a gentler approach.
You can absolutely apply self-tanner over them, but you might find the color develops a little differently. I always recommend reaching for a gradual tanning lotion in this scenario. It allows you to build the color slowly, giving you far more control and minimizing any risk of irritation while you find the perfect depth to blend out the redness.
How often should I reapply my tan?
A good, well-maintained tan should last you about 5 to 7 days. To keep your stretch marks camouflaged consistently, you'll want to get into a rhythm of reapplying your tanner about once a week.
The key is what you do before you reapply. As your color starts to fade, you need to gently exfoliate your skin to slough off any old, lingering tan. This gives you a fresh canvas and prevents product buildup, which is what leads to a patchy, unnatural look.
Don’t just layer new tanner over a fading tan. Exfoliating away the old color before reapplying is the only way to maintain a smooth, even finish and avoid making your stretch marks look more obvious due to patchiness.
Is it safe to use self tanner during pregnancy?
This is a very common—and important—question, especially since many women develop stretch marks during pregnancy. The good news is that according to the American Pregnancy Association, the active ingredient in most self-tanners (DHA) isn't absorbed into the bloodstream. It works by reacting only with the cells on the very top layer of your skin.
Because of this, topical self-tanning products like lotions and mousses are generally considered safe for use during pregnancy. That said, your skin can become much more sensitive when you're pregnant, so always do a patch test first. It's also wise to check in with your doctor before trying any new skincare product.
One thing to avoid is spray tanning booths. While the topical application is fine, the risk of inhaling the aerosolized mist hasn't been studied enough. It’s best to stick with lotions, mousses, or wipes that you can apply yourself.
At Weyergans HighCare US, we believe that feeling good about your skin comes from a combination of effective care and innovative wellness solutions. While a good self-tanner can provide an excellent cosmetic finish, improving your skin's underlying health can elevate your results even further. Learn more about how our advanced wellness technologies can support your skin's natural beauty and circulation at https://weyerganshighcareus.com.