

If you want to know how to make spray tans last longer, the real secret isn't just in the aftercare—it's in the meticulous prep work you do before you even step into the salon. Creating a smooth, clean canvas for the tanning solution is absolutely everything. This crucial process needs to start a good 24-48 hours in advance, not the morning of your visit. It’s the foundational step that distinguishes a good tan from a great one.
A flawless, enduring glow depends far more on what you do beforehand than anything else. This guide will walk you through every step, from pre-tan preparation to daily maintenance, ensuring your bronze lasts as long as possible.
The Secret to a Tan That Lasts Begins Before Your Appointment
Most people mistakenly believe a tan's lifespan is all about what happens after they leave the salon. While post-tan care is definitely important, the true foundation for a beautiful, long-lasting tan is built in the days leading up to your session. Without proper prep, even the best aftercare routine will fall short.
Think of it like painting a wall. If the surface is rough, oily, or dusty, the paint won't adhere properly, and you'll get a patchy, short-lived result. Your skin is no different. Creating a smooth, receptive surface by removing dead skin cells and ensuring a balanced pH is the single most important step you can take for a tan that looks incredible and actually lasts. A poorly prepared surface will lead to uneven color, rapid fading, and a less-than-desirable outcome.
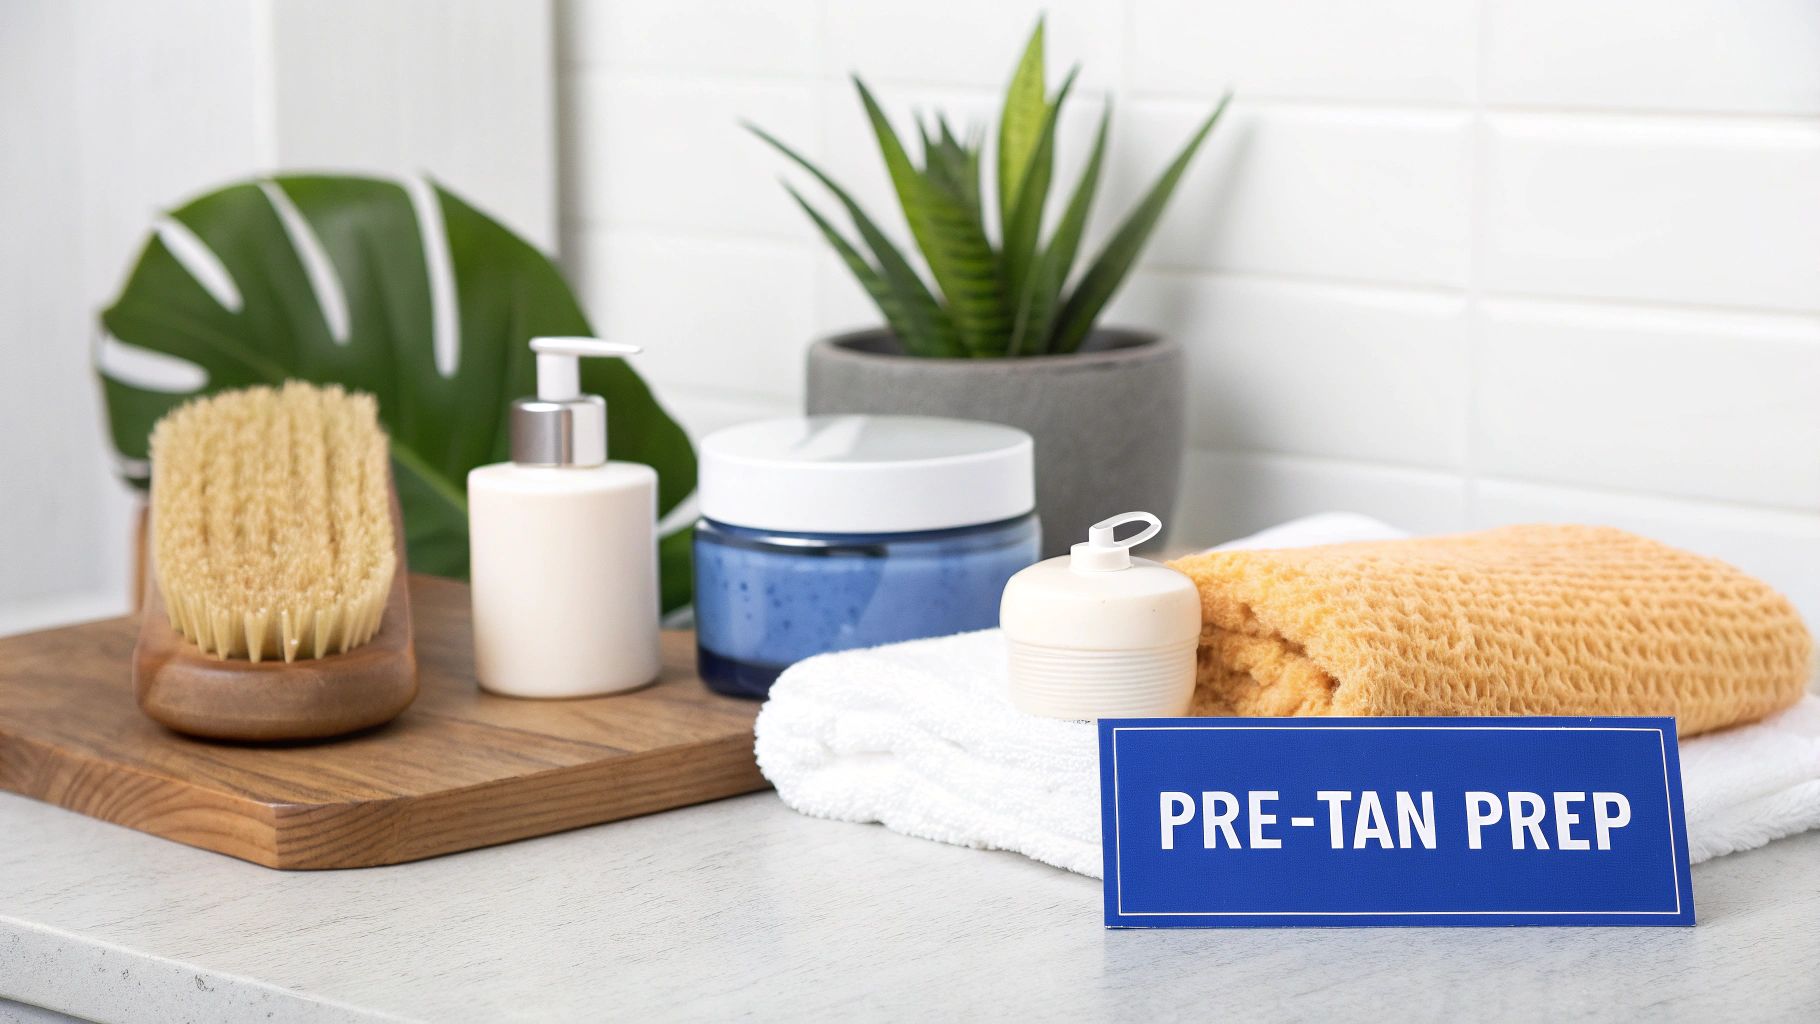
Your Pre-Tan Preparation Checklist
Timing is everything when it comes to prep. Critical tasks like hair removal and exfoliation need to be done well in advance. This gives your skin time to calm down and your pores a chance to close completely. Rushing these steps is a recipe for disaster, often leading to discoloration, dotty pores, or that dreaded "strawberry legs" look where the tanner settles into open follicles.
Here’s a detailed rundown of what you should be doing to prepare your skin perfectly:
- Exfoliate Thoroughly 24 Hours Beforehand: This is the big one. Use a high-quality, oil-free scrub or an exfoliating mitt to get rid of all the dead, dry skin. Pay extra attention to notoriously rough spots like your knees, elbows, ankles, and heels. This comprehensive exfoliation prevents the tan from grabbing onto dry patches and fading unevenly, ensuring a uniform application.
- Schedule Hair Removal Wisely: Whether you shave, wax, or epilate, get it done at least 24 hours before your appointment. This is non-negotiable. It gives your pores plenty of time to close up, which stops the tanning solution from settling in them and creating tiny dark dots. Waxing should be done even earlier, about 48 hours prior, to let any skin sensitivity subside.
- Arrive With Clean, Bare Skin: On the day of your tan, your skin needs to be a completely blank slate. That means no moisturizers, deodorants, perfumes, or makeup. These products create a barrier that physically blocks the tanning solution from absorbing correctly and can even react with the DHA, causing green or uneven patches. A simple water-only rinse before you go is ideal.
The most common mistake I see is clients showing up with leftover deodorant or body lotion on their skin. This is the number one cause of those dreaded green or patchy underarms and is a surefire way to get an uneven tan. Even a trace amount can ruin the final result.
To make it even easier, I've put together a simple timeline you can follow. Sticking to this schedule in the 48 hours before your appointment will make a world of difference in your results and is a key part of learning how to make your spray tan last longer.
Your Pre-Tan Preparation Timeline
Follow this simple checklist in the 48 hours leading up to your spray tan to guarantee the best possible results and longevity. Consistency here pays off tenfold.
| Timeframe | Your Action | The Reason It Works |
|---|---|---|
| 48 Hours Before | Any waxing or deep skin treatments. | Allows ample time for skin inflammation to subside and pores to fully close, preventing irritation. |
| 24 Hours Before | Shave and exfoliate thoroughly with an oil-free scrub. | Removes dead skin for an even canvas and gives pores time to close post-shaving, preventing dotting. |
| 12 Hours Before | Moisturize one last time, focusing on dry areas. | Hydrates the skin deeply, but allows enough time for the lotion to fully absorb so it won't block the tan. |
| Day of Tan | Shower with only water. No soaps, lotions, deodorant, or makeup. | Ensures your skin is a completely clean, product-free surface ready for flawless application. |
Following these steps might seem like a lot, but they're the difference between a tan that lasts four days and one that looks perfect for over a week. Investing this time upfront will save you from disappointment later.
Why Exfoliation is Non-Negotiable
Proper exfoliation is the absolute cornerstone of a great, long-lasting tan. Your skin is constantly shedding dead cells in a natural cycle, and a spray tan only colors that very top layer of the epidermis. If you apply tanner over skin that's about to flake off, your color is going to flake off right along with it in just a day or two, resulting in a patchy and short-lived glow.
In fact, ensuring you remove 20-30% more dead skin cells can extend the life of your tan by up to a full week. By sloughing away that old, ready-to-shed layer, you’re making sure the tanning solution is applied to fresh, new skin that will hold onto the color for as long as possible. You can explore more data on the factors affecting tan longevity and see just how much of an impact proper prep really has on the final outcome. It is the single most effective action for tan longevity.
Navigating the First 24 Hours for a Perfect Set

The moments right after you leave the salon are the most critical for your tan's development. What you do in this initial window directly determines how deep, even, and long-lasting your color will be. Think of it like letting a masterpiece dry—any little disturbance can smudge the final result and compromise the integrity of the color.
This is when the active ingredient, dihydroxyacetone (DHA), is working its magic. DHA is a simple, colorless sugar that reacts with the amino acids in the stratum corneum, the very top layer of your skin. This Maillard reaction is what creates that beautiful, browned pigment, but the chemical process needs time to fully develop, completely undisturbed by friction, water, or sweat.
Your Immediate Aftercare Plan
Your top priority is to shield your fresh tan from anything that could cause streaks or smudges. Friction is the number one enemy here, as it can physically rub off the cosmetic bronzer and the developing tan beneath it. As soon as you can after your appointment, change into something loose-fitting and dark.
Think along the lines of:
- A soft, long t-shirt dress
- Baggy sweatpants and an oversized hoodie
- A loose pajama set made from a breathable fabric like cotton
You'll want to avoid anything restrictive like denim, yoga pants, sports bras, or even tight bra straps. These can rub right through the solution before it has a chance to set, leaving you with obvious, uneven lines that are difficult to correct later.
The Golden Rule: Avoid All Water
For at least the first 8-12 hours, or as directed by your tan technician, water is your tan’s worst enemy. This rule is absolute and is a non-negotiable factor in how to make spray tans last longer. Any contact with moisture can stop the DHA development process in its tracks, leading to splotches, streaks, or white spots.
The most common post-tan mistake I see is accidental water contact. A tiny splash from washing your hands or getting caught in a light rain can instantly create a noticeable mark. For this reason, it’s best to skip workouts, avoid steamy rooms, and let someone else do the dishes. Use a hand sanitizer or wipes carefully instead of washing hands.
If you do accidentally get a drop of water on your skin, don't panic. Gently blot the area with a dry, soft cloth or a makeup sponge. Do not rub it. Rubbing will only spread the damage and make the mark larger. A light dabbing motion can help blur the edges and minimize how visible the spot is until your first rinse.
Sleeping Soundly Without Streaks
That first night with a fresh tan can feel a little tricky, but a few simple precautions can protect both your glow and your sheets. The main goal is to minimize skin-to-skin contact, which causes sweat and can smudge the developing color, especially in areas like the inner arms, behind the knees, and between the legs.
Wearing a long-sleeved, loose pajama set to bed is a great trick. This creates a soft barrier, preventing areas like the inside of your arms from resting against your torso or your legs from sticking together. This is a simple but highly effective strategy.
If you tend to sleep warm, a light dusting of a talc-free finishing powder on areas prone to sweating—like behind your knees, in the crooks of your elbows, or under your breasts—can make a huge difference by absorbing excess moisture.
Daily Habits to Preserve and Extend Your Glow
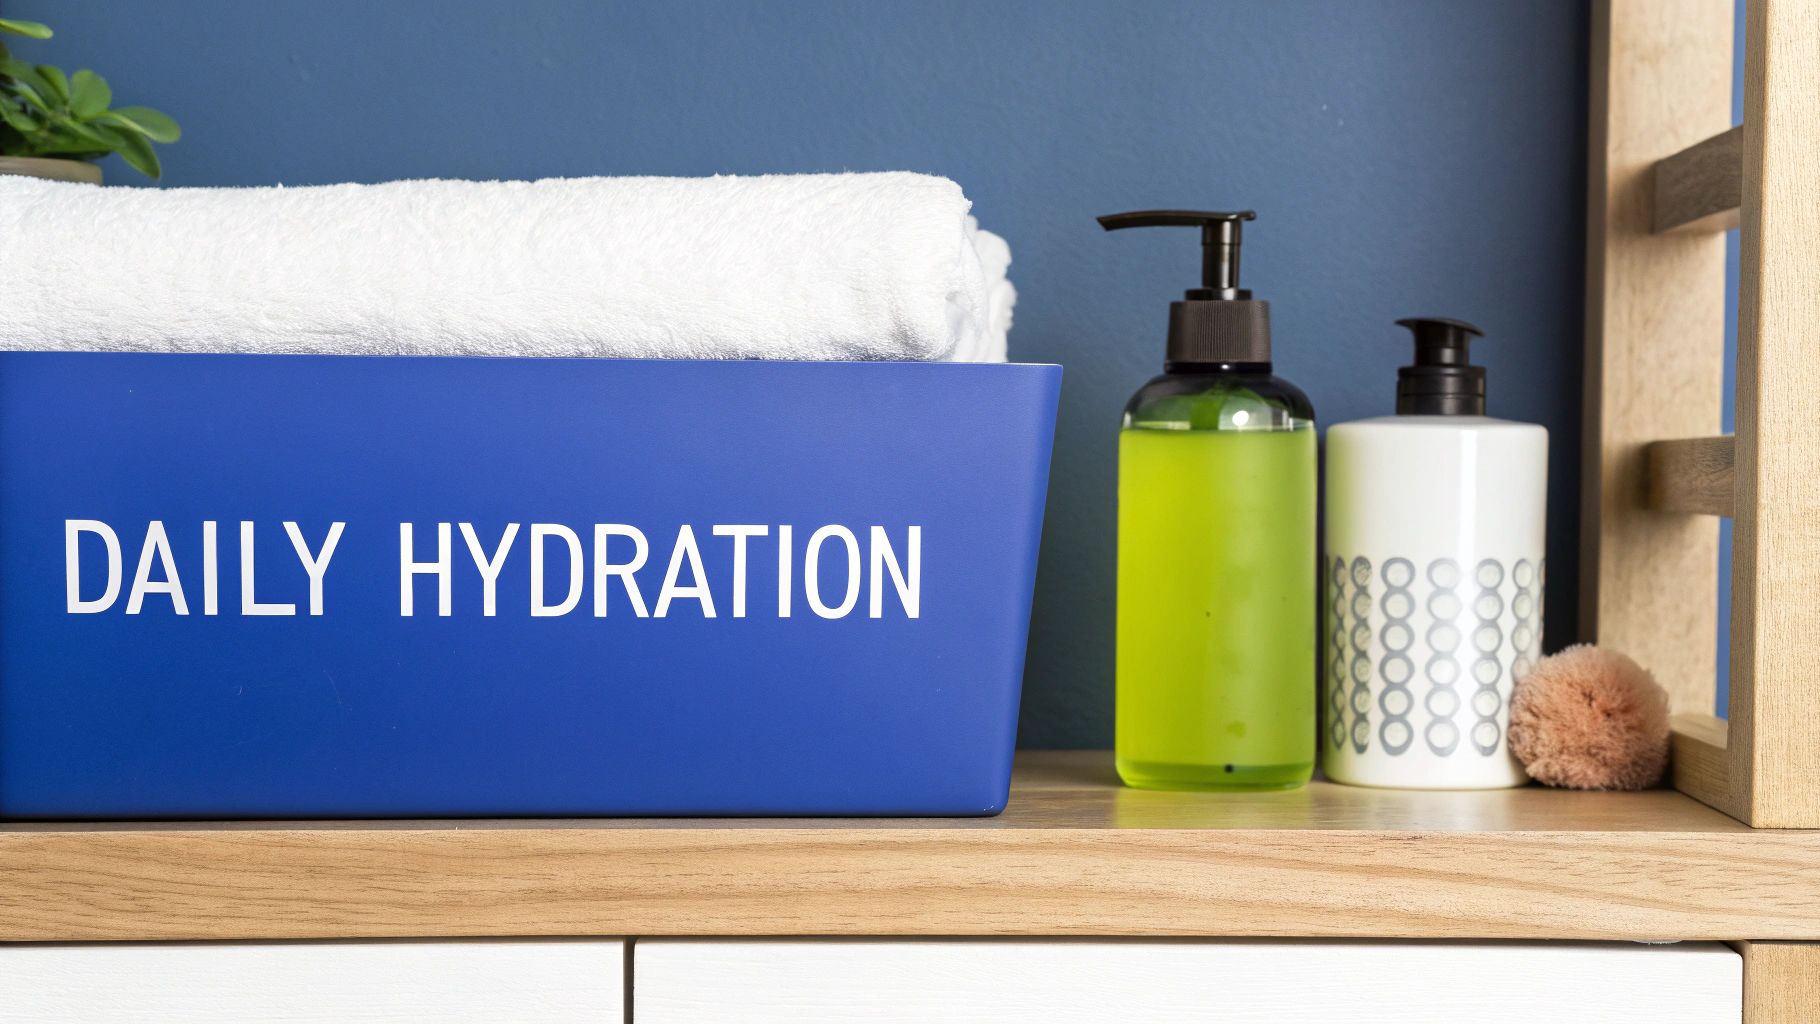
Once your tan has fully developed and you’ve had that first rinse, the game changes. Your focus shifts from protection to preservation. The daily choices you make from this point on are what separate a tan that fades gracefully over a week from one that disappears in patchy frustration after just a few days. The right habits can easily add several days to your tan's life.
The secret to a long-lasting, even glow comes down to one simple principle: hydration. Your skin is the canvas, and a moisturized canvas holds color far better than a dry one. Dehydrated skin cells flake off much faster, taking your beautiful bronze glow with them. This is why a consistent moisturizing routine isn't just a suggestion—it's the non-negotiable cornerstone of knowing how to make spray tans last longer.
Master Your Moisturizing Routine
Moisturizing at least twice a day—once in the morning and once at night—is the golden rule for tan maintenance. For maximum impact, apply your lotion right after you shower while your skin is still a bit damp. This simple trick helps lock in that extra moisture, keeping your skin supple, plump, and your tan vibrant and even.
But here's a crucial tip: not all moisturizers are created equal. The wrong formula can actively strip your color instead of preserving it, undoing all your hard work.
Here’s what you need to know when choosing a lotion:
- Look for: Formulas that are specifically oil-free and fragrance-free. Ingredients like mineral oil and heavy perfumes are notorious for breaking down the DHA in your tanning solution, leading to premature and uneven fading. Seek out lotions with ingredients like aloe vera or glycerin.
- Stay away from: Products loaded with harsh chemicals like sulfates, parabens, and certain alcohols (like SD alcohol 40) that will dry your skin out. Unfortunately, many popular drugstore brands fall into this category, so always check the label carefully for tan-safe ingredients.
Think of moisturizing as feeding your tan. A well-nourished tan stays even, radiant, and sticks around. Skipping this step is like expecting a plant to thrive without water—it just won’t happen. Hydration is the key to a slow, even fade.
Adopt Tan-Friendly Shower Habits
Your daily shower can be your tan's best friend or its worst enemy. Sure, a long, hot shower feels amazing, but it also opens up your pores and speeds up your skin's natural exfoliation process. For a spray tan, that's a recipe for disaster, as it accelerates the shedding of tanned skin cells.
To keep your glow intact, just make these simple adjustments:
- Turn Down the Heat: Always use lukewarm water instead of hot. This prevents your skin from drying out and helps preserve that precious top layer where your color lives.
- Use a Gentle Cleanser: Make the switch to a sulfate-free body wash. Sulfates are harsh detergents that can literally wash your tan down the drain. Gently cleanse with your hands—loofahs, washcloths, and scrubs are far too abrasive and will manually exfoliate your tan away.
- Pat, Don't Rub: After you shower, gently pat your skin dry with a soft towel. Aggressive rubbing is a form of exfoliation, and it will remove your tan prematurely and can cause it to look patchy.
The global spray tanning market, now valued at US$1,348 million in 2024, is booming because people are learning these small but powerful maintenance tricks. For example, did you know that waiting a full eight hours after your session before moisturizing can add 3-4 days to your tan’s life? It gives the DHA the time it needs to fully develop. Similarly, while 65% of users see their tans fade faster due to chlorine, a quick cool-water rinse right after swimming can neutralize its damaging effects.
You can explore the many ways your skin benefits from proper care and see firsthand how these simple habits make all the difference.
Lifestyle Tips to Protect Your Tan from Fading
Your day-to-day life doesn't have to sabotage your perfect spray tan. While daily moisturizing is a non-negotiable, it's your other lifestyle choices—from how you work out to where you vacation—that really determine how to make spray tans last longer. A few simple tweaks can make a world of difference, protecting your glow from the most common saboteurs like sweat, friction, and chemicals.
An active lifestyle and a gorgeous tan can absolutely go hand-in-hand. It all comes down to managing moisture and friction, especially when you're breaking a sweat or enjoying the water.
Workouts and Your Tan
For anyone who loves to work out, sweat is the main challenge. The salt and moisture in sweat can start to break down the DHA on your skin's surface, causing your tan to fade prematurely. This is especially true in areas where your workout clothes are tightest, like under a sports bra or along the waistband of leggings, where friction and sweat combine.
To keep your tan looking sharp, try wearing loose, breathable fabrics during exercise. And instead of wiping sweat away, which creates friction that can rub off your color, gently pat your skin dry with a towel. The most critical step, though, is what you do the moment you're done.
A quick, lukewarm rinse-off as soon as possible is your best defense. This simple step washes away the sweat before it has time to sit on your skin and degrade your color, keeping your tan even and vibrant.
Handling Water Chlorine and Salt
Planning a beach vacation or just a day at the pool? Be warned: chlorine and saltwater are two of the most notorious tan-strippers out there. Both are incredibly dehydrating and act as chemical exfoliants, which can make your color fade quickly and unevenly.
But you don't have to stay out of the water. You just need a smart strategy to protect your investment:
- Create a Barrier: Before taking a dip, apply a light layer of a waterproof, oil-free sunscreen. This acts as a subtle shield between your skin and the harsh chemicals or salt. Some brands even make "tan shield" lotions specifically for this purpose.
- Rinse Immediately: Just like with sweat, rinse your skin with fresh, cool water as soon as you get out of the pool or ocean. This removes that damaging residue before it has a chance to set in and dry out your skin.
- Moisturize Post-Rinse: After rinsing and patting dry, immediately slather on your tan-safe moisturizer. This rehydrates your skin and helps lock in your glow, counteracting the drying effects of the water.
Your tan lives on the very top layer of your skin. Anything that dehydrates or exfoliates that layer will shorten its lifespan. Think of chlorine and saltwater as aggressive exfoliants—you must counteract their effects immediately to save your color.
Less Obvious Tan Saboteurs
Beyond the usual suspects, several everyday habits can silently strip away your tan without you even realizing it. Long, hot baths are a big one; soaking in hot water speeds up your skin's natural exfoliation process. Stick to short, lukewarm showers instead to preserve your color.
Pay close attention to your skincare products, too. Anything containing exfoliants like AHAs (glycolic acid), BHAs (salicylic acid), or retinoids should be kept far away from your tanned skin, as their entire purpose is to slough off that top layer of cells where your color lives. This includes face and body products.
Finally, think about your clothes. Tight, restrictive fabrics like stiff denim or spandex can cause friction that literally rubs your tan away in high-contact areas like the inner thighs, waist, and shoulders. Whenever you can, choose softer, looser materials to keep your glow looking flawless.
Troubleshooting Common Spray Tan Problems
Even with the most meticulous prep and aftercare, spray tan mishaps can happen. Seeing a streak, a dark patch, or a hint of orange can feel like a disaster, but trust me, most of these common issues are surprisingly easy to fix right at home with a few simple tricks.
The key is not to panic. Understanding why these things happen is the first step to correcting them and learning how to make spray tans last longer and look flawless next time. Think of this as your emergency guide for those little imperfections that can crop up.
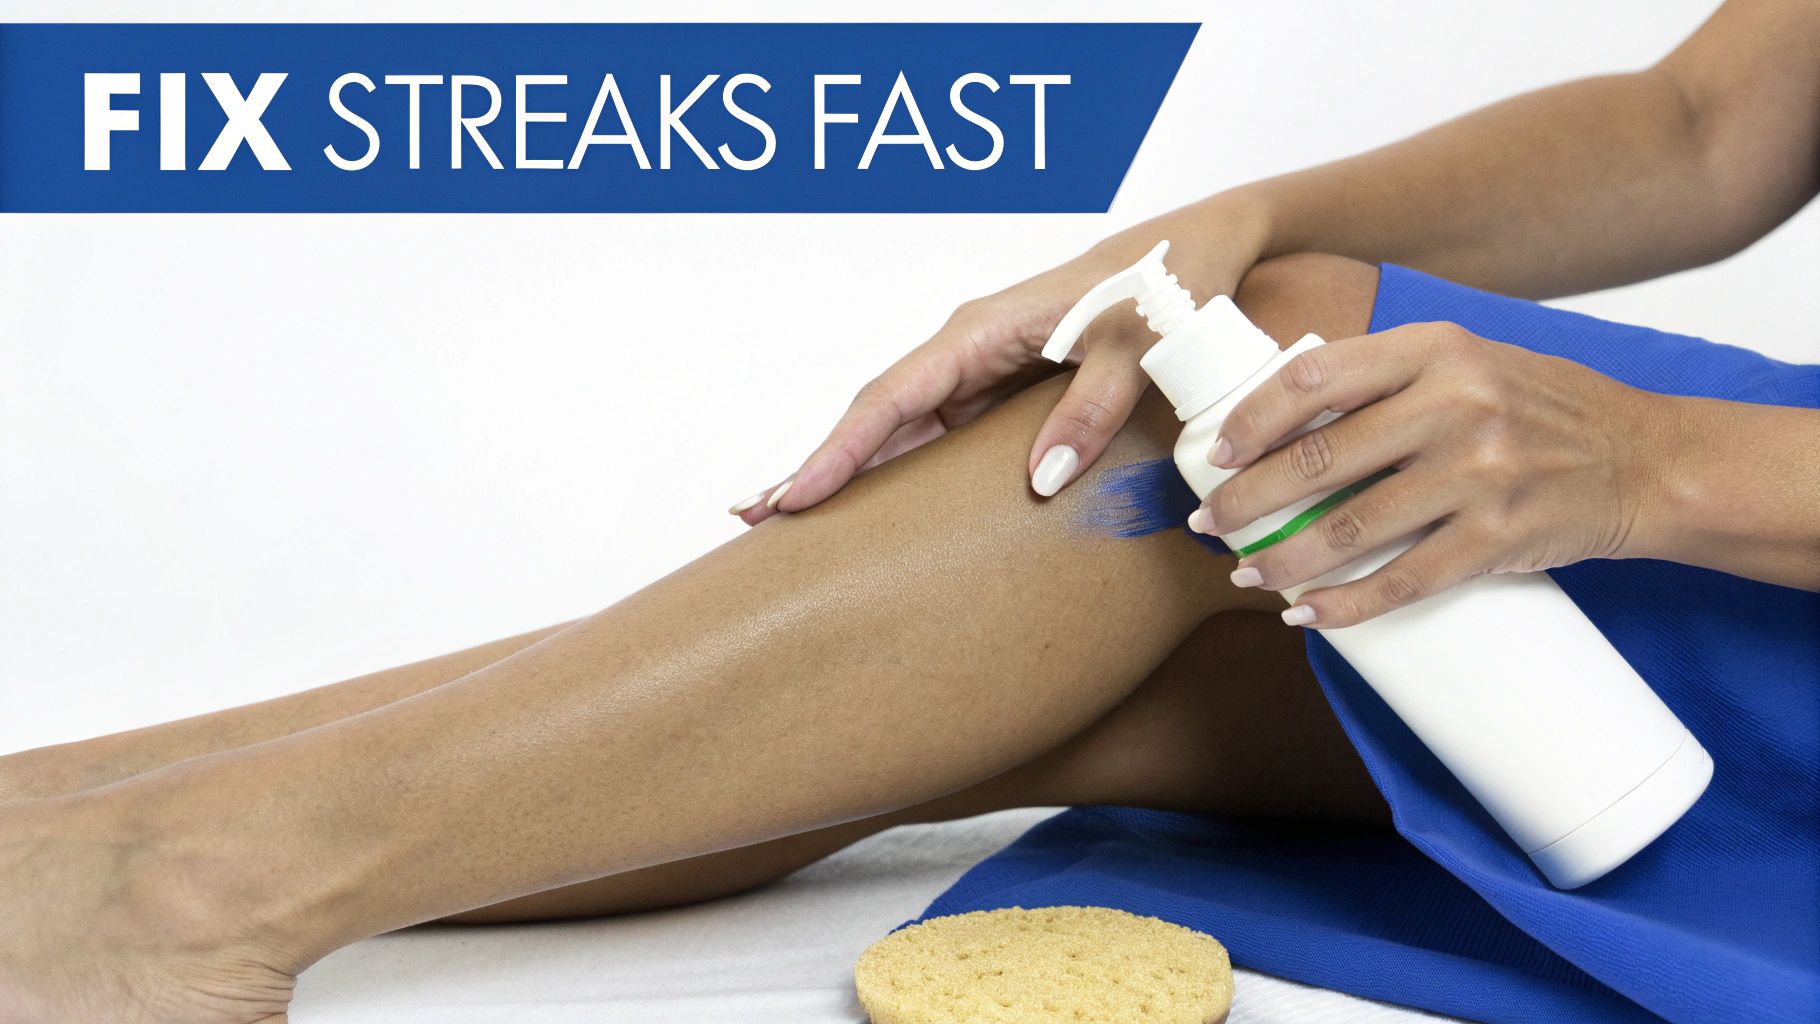
Fixing Streaks and Patches
Streaks are probably the most frequent complaint I hear about. They almost always pop up within the first few hours as the tan develops, and the culprit is usually moisture or friction. A splash of water, a little bit of sweat, or clothing that's just a bit too snug can be all it takes to disrupt the even development of the color.
The goal is simple: blend the area to soften any hard lines. Grab an oil-free moisturizer and a makeup sponge or a clean buffing mitt. Apply a tiny amount of lotion and gently dab and buff the edges of the streak, blending it into the surrounding tan. This dilutes the color just enough to make the line disappear, creating a seamless finish.
For those more stubborn dark patches—especially on notoriously dry spots like knees, elbows, and ankles where color loves to grab on too tight—a bit of gentle exfoliation is your best friend.
- Lemon Juice & Baking Soda Paste: Mix these into a thin paste, apply it directly to the dark spot, and let it sit for a few minutes. The mild acid from the lemon and the gentle abrasive quality of the baking soda work together to lift excess color. Then, gently buff it away with a soft, damp washcloth.
- A Gentle Body Scrub: Using a tan-safe, oil-free scrub, lightly massage the area in a circular motion. You're just trying to lift the very top layer of color, not scrub your entire tan off. Be precise and gentle.
Addressing Unwanted Orange Tones
Ah, the dreaded orange glow. This usually means either too much solution was applied, or the formula's undertones weren't the right match for your skin. It can also happen if the DHA level in the solution was too high for your complexion, causing an over-development of the tanning agent.
An orange tint is a tell-tale sign that the DHA has overdeveloped. This is often triggered by lingering product residue (like deodorant or perfume with aluminum) or an unbalanced skin pH level before you even started.
While you can't completely reverse it, you can definitely tone it down. The quickest fix is to apply a thin layer of a gradual tanning lotion that has a cooler, olive-based undertone. This can help neutralize the warmth and shift the color toward a more natural-looking bronze. And for next time, make sure your skin is squeaky clean and talk to your technician about the right solution depth and undertone for you.
Keeping your skin healthy is the foundation for any great tan. Essential oils can be a fantastic, gentle way to support your skin's health and tone. For instance, learning about geranium oil uses for skin can give you insights into maintaining a balanced, happy complexion that's perfectly prepped for a flawless tan.
How Clinics Can Enhance Tan Longevity for Clients
For aesthetic clinics and wellness centers, offering spray tans is a fantastic way to bring in new clients and keep them coming back. But to truly stand out in a competitive market, you need to elevate the experience beyond a simple application. The real key is to position spray tanning not just as a quick cosmetic fix, but as part of a complete wellness journey that delivers a superior, longer-lasting glow.
Think about it this way: when skin is healthy, hydrated, and circulation is optimal, it creates a much better canvas for the tanning solution to adhere to. This simple biophysical truth is your secret weapon for a more even application and a color that genuinely endures, giving your clients results they can't get elsewhere.
Pairing Treatments for Premium Results
Combining services is a powerful strategy to boost client outcomes and confidently charge a premium price. By pairing a spray tan with preparatory treatments, you're not just applying color; you're actively showing clients how to make spray tans last longer from a clinical, results-driven perspective that builds authority and trust.
Consider creating a signature package that bundles a spray tan with services designed to promote lymphatic drainage and circulation. For example, a session in the Vacustyler Avantgarde uses intermittent negative pressure to stimulate blood flow and support overall skin health. This kind of preparation ensures the skin is in absolute prime condition—perfectly exfoliated and receptive—before the tan is even applied.
By offering a pre-tan circulation-boosting session, you’re not just selling a tan; you're selling a guaranteed better result. This approach turns a standard beauty appointment into a high-value wellness solution, encouraging repeat business and higher client satisfaction.
Marketing Your Enhanced Tanning Services
How you market these packages is just as important as the treatments themselves. Frame them as an exclusive experience—think "Glow Up Package" or "Red Carpet Ready"—rather than just a spray tan. This creates a perception of higher value and a more comprehensive service.
Make sure to highlight the tangible benefits of the combined therapies. Educate your clients on the science behind it, explaining in simple terms how improved circulation helps the skin hold pigment more effectively and fade more evenly. This builds immense trust and showcases your clinic's expertise. Using before-and-after photos of clients who received the combined treatment can be a powerful marketing tool.
You can explore a variety of non-invasive body treatments that perfectly complement tanning services and add significant value for your clients. This strategy doesn't just improve their results; it solidifies your clinic's reputation as a leader in comprehensive aesthetic care.
Frequently Asked Questions
Got a specific question about making that gorgeous glow last? You're not alone. Here are the quick, no-nonsense answers to the questions we hear all the time from clients wanting to maximize their investment.
How Often Should I Moisturize to Make My Spray Tan Last Longer?
Think of moisturizing as your tan's best friend. You should be applying lotion at least twice a day—once in the morning and once before bed. This is the single most important maintenance step you can take.
For the absolute best results, grab a high-quality, oil-free lotion made specifically for sunless tans. The pro move? Apply it right after a lukewarm shower while your skin is still a little damp. This simple habit is the secret to locking in hydration and stopping your tan from cracking or fading before its time. Hydrated skin retains color; dry skin sheds it.
Can I Work Out With a New Spray Tan?
Yes, but timing is everything. You absolutely have to wait until after your first shower, which should be 8-12 hours after your appointment. Working out before this first rinse will cause the cosmetic bronzer to run and streak, ruining the final result. Once that initial rinse is done and your tan is set, you can get back to your fitness routine with a few smart adjustments.
Keep in mind that heavy sweating can cause some fading, especially where clothing is tightest—think sports bras and legging waistbands. Friction combined with sweat is a tan's enemy.
To keep your color looking flawless, opt for breathable workout gear and gently pat sweat away with a towel instead of wiping. A quick, cool rinse right after you finish will wash away salt and sweat before they have a chance to mess with your tan.
What Should I Do When My Spray Tan Starts to Fade?
When your tan starts its natural fade, the goal is to make sure it happens evenly to avoid any patchiness. Around day five or six, you can start to gently exfoliate your skin every other day. A soft washcloth or a very mild, oil-free scrub is perfect for this. This will help the tan fade like a natural tan would.
This light buffing helps the remaining color fade away smoothly and gradually. It’s also the perfect time to double down on hydration, which creates an ideal canvas for your next spray tan. A well-maintained fade is just as important as a good application for a consistently beautiful look.
At Weyergans HighCare US, we believe a stunning, long-lasting aesthetic result begins with healthy, well-prepped skin. Our Vacustyler Avantgarde enhances circulation, creating the perfect foundation for a flawless, longer-lasting tan by ensuring your skin is in its prime condition. Learn how our innovative wellness solutions can elevate your client outcomes.