

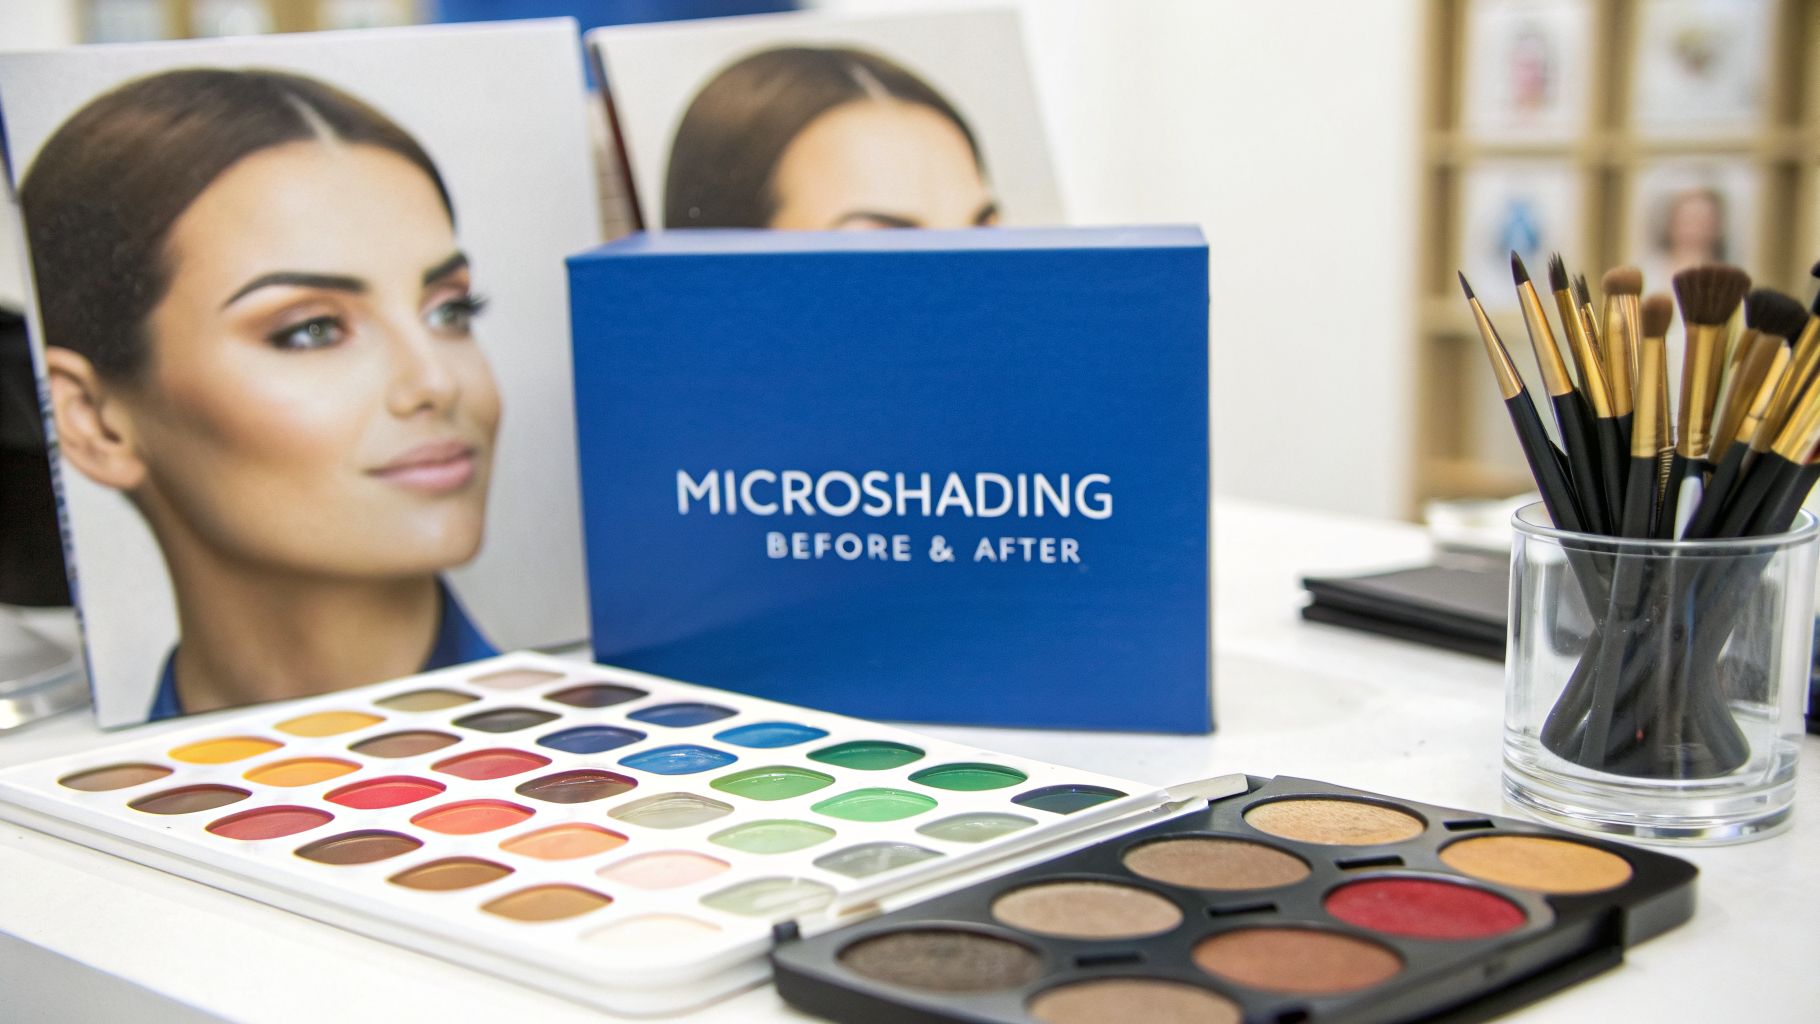
The difference in a microshading before and after photo can be stunning. It’s the art of taking sparse, undefined, or uneven brows and creating soft, full arches that look like they've been perfectly filled in with a high-end brow powder. The initial result right after the appointment is always bold and dark, but this is a temporary phase. Over the next few weeks, the color softens, revealing the final, natural-looking shade you’ve been waiting for.
What a microshading transformation actually looks like
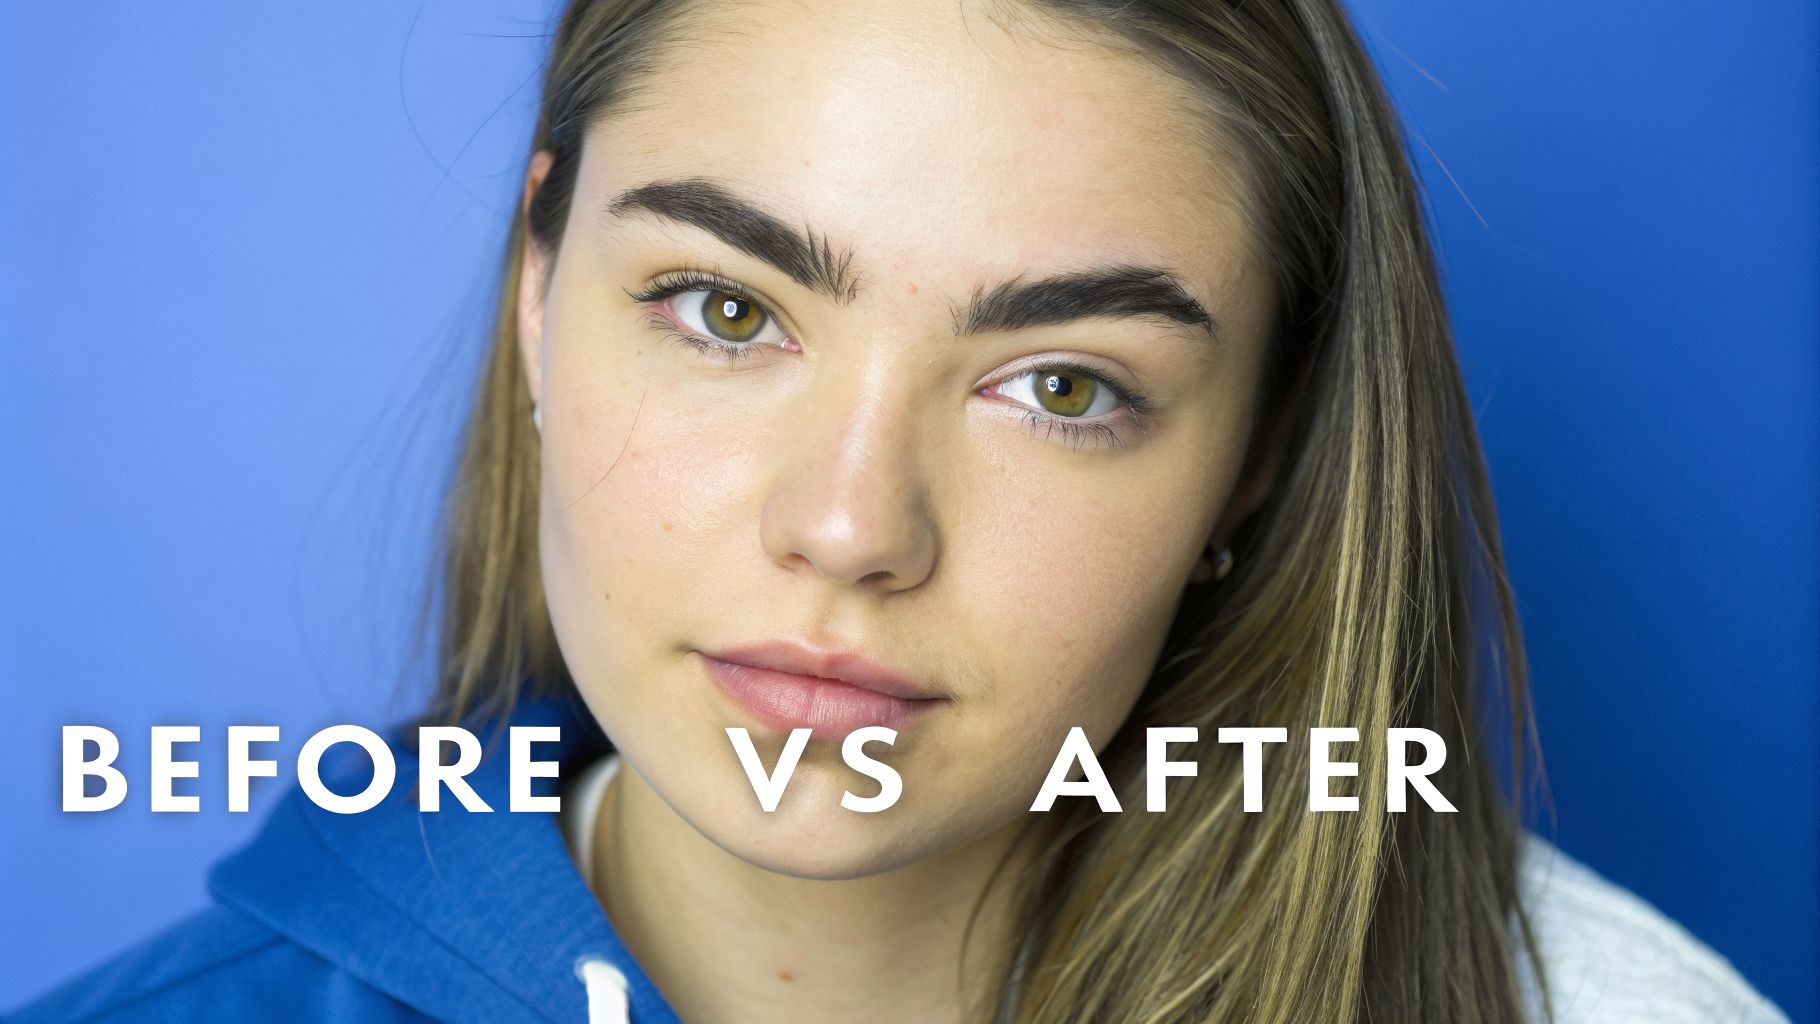
Most people come to us looking to solve a problem—brows that were overplucked in the past, have thinned with age, or simply to free themselves from the daily chore of filling them in. Before the procedure, brows often lack a clear shape or the density needed to frame the face. The "after" is a polished, perfectly shaded brow with a soft color gradient, saving you time and effort every morning.
The demand for this kind of result is clear in market trends. The global permanent makeup industry, which includes microshading, was valued at USD 174.56 million in 2026 and is still climbing. Microshading alone commanded 68.21% of the micropigmentation market share that year, valued at USD 119.06 million, because it delivers such a realistic, long-lasting finish.
A successful microshading transformation isn't just about adding color. It's about an artist creating a shape that brings harmony to your facial features and selecting a pigment that complements your skin tone and hair for a seamless look.
Understanding your brow options
While microshading gives that soft, powdered effect, it’s often mentioned alongside microblading, which is known for creating individual, hair-like strokes. Knowing the difference between them helps you choose the right service for your skin and the look you want to achieve. For a deeper look, you can explore our guide on combining microblading and shading.
To get you started, it helps to see the two main techniques side-by-side. Here’s a quick breakdown to help you distinguish between them.
Microshading vs microblading at a glance
| Feature | Microshading (Powder Brows) | Microblading (Hair Strokes) |
|---|---|---|
| Final Look | Soft, filled-in “makeup” look | Crisp, individual hair strokes |
| Best for Skin Type | All skin types, especially oily or sensitive skin | Normal to dry skin |
| Technique | Small dots of pigment applied with a machine | Manual blade creating fine cuts |
| Longevity | Typically lasts 1-3 years | Typically lasts 1-2 years |
As you can see, microshading is often a longer-lasting solution, especially for those with oily skin where the fine lines of microblading can blur over time. You don’t always have to choose. Your artist can also blend both methods—a popular technique known as "combo brows"—to give you defined strokes at the front and soft shading through the arch and tail.
Your complete microshading healing journey day by day
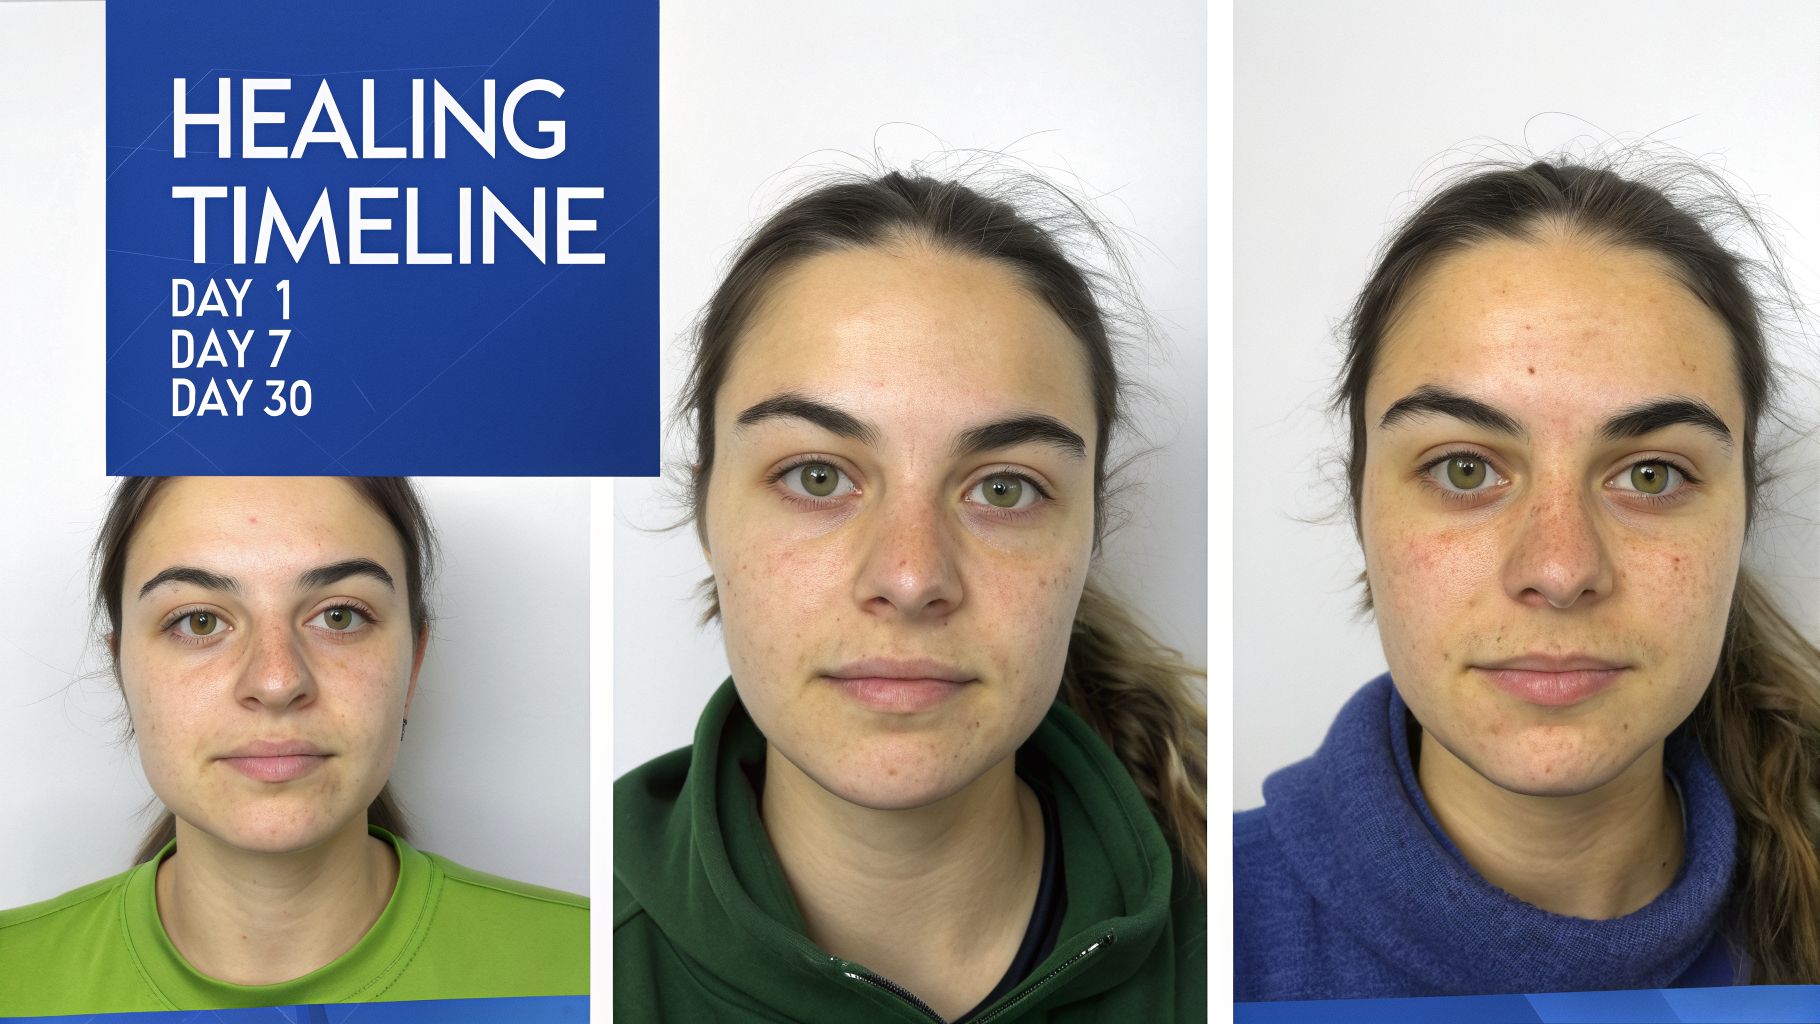
That first look in the mirror after your appointment is the beginning of your brow story. To appreciate the transformation, you need to understand the full healing timeline, because what you see on day one is not the final result. Your brows are about to go on a journey over the next four to six weeks.
Knowing what’s coming helps you relax and trust the process. This healing period determines your beautiful, soft, and perfectly settled microshading before and after results. Think of it as the natural way your skin accepts and finalizes the artist's work.
Days 1-3: The bold beginning
The first thing you’ll notice is how dark your brows are. Freshly microshaded brows will appear sharp, defined, and surprisingly bold. This is completely normal, so don't panic. The color is sitting on the top layer of your skin, making it look about 30-40% darker than its final, settled shade.
You may also have minor redness or swelling around the brows, but this almost always calms down within 24 hours. During these first few days, your only job is to follow your artist's aftercare instructions, which usually involves gentle blotting and keeping the area dry.
Days 4-10: The flaking phase
Sometime around day four, the itching will start. This is a good sign, meaning your skin is beginning its natural healing process. You'll soon see small scabs or flakes forming over the pigmented area.
This next part is important: you must not pick, scratch, or peel these flakes. Let them fall off on their own. Pulling them off prematurely can lift the pigment out of your skin, leaving you with patchy, uneven brows and undoing all your artist's careful work.
Trusting the healing process is the most important part of aftercare. Picking at scabs or flakes can undo the artist's careful work and compromise your final look. Patience during this stage pays off with better pigment retention and a smoother result.
Days 11-28: The ghosting phase
Once the flaking is done, something else surprising happens. Many clients look in the mirror and think their brows have disappeared. This is the "ghosting" phase, where the color seems to have vanished, leaving your brows looking far too light.
This is a normal and temporary part of the cycle. A new layer of skin has healed over the pigment, temporarily obscuring the color underneath. The pigment is still there, resting just below the surface. Over the next few weeks, as your skin fully regenerates, the color will slowly "bloom" and reappear. You just have to be patient.
Day 28 and beyond: The final reveal
After about four weeks, the process is over. Your skin has healed, and the true color and softness of your microshaded brows finally emerge. The pigment has settled into its permanent home, looking much more subtle and natural than it did on day one.
This is the moment you can see your true microshading before and after results. Your artist will schedule a follow-up appointment for around the 6-8 week mark. This touch-up session is for perfecting the work—filling in any tiny spots that healed lighter, making small tweaks to the shape, and ensuring your brows are flawless.
How to analyze before and after photos like a pro
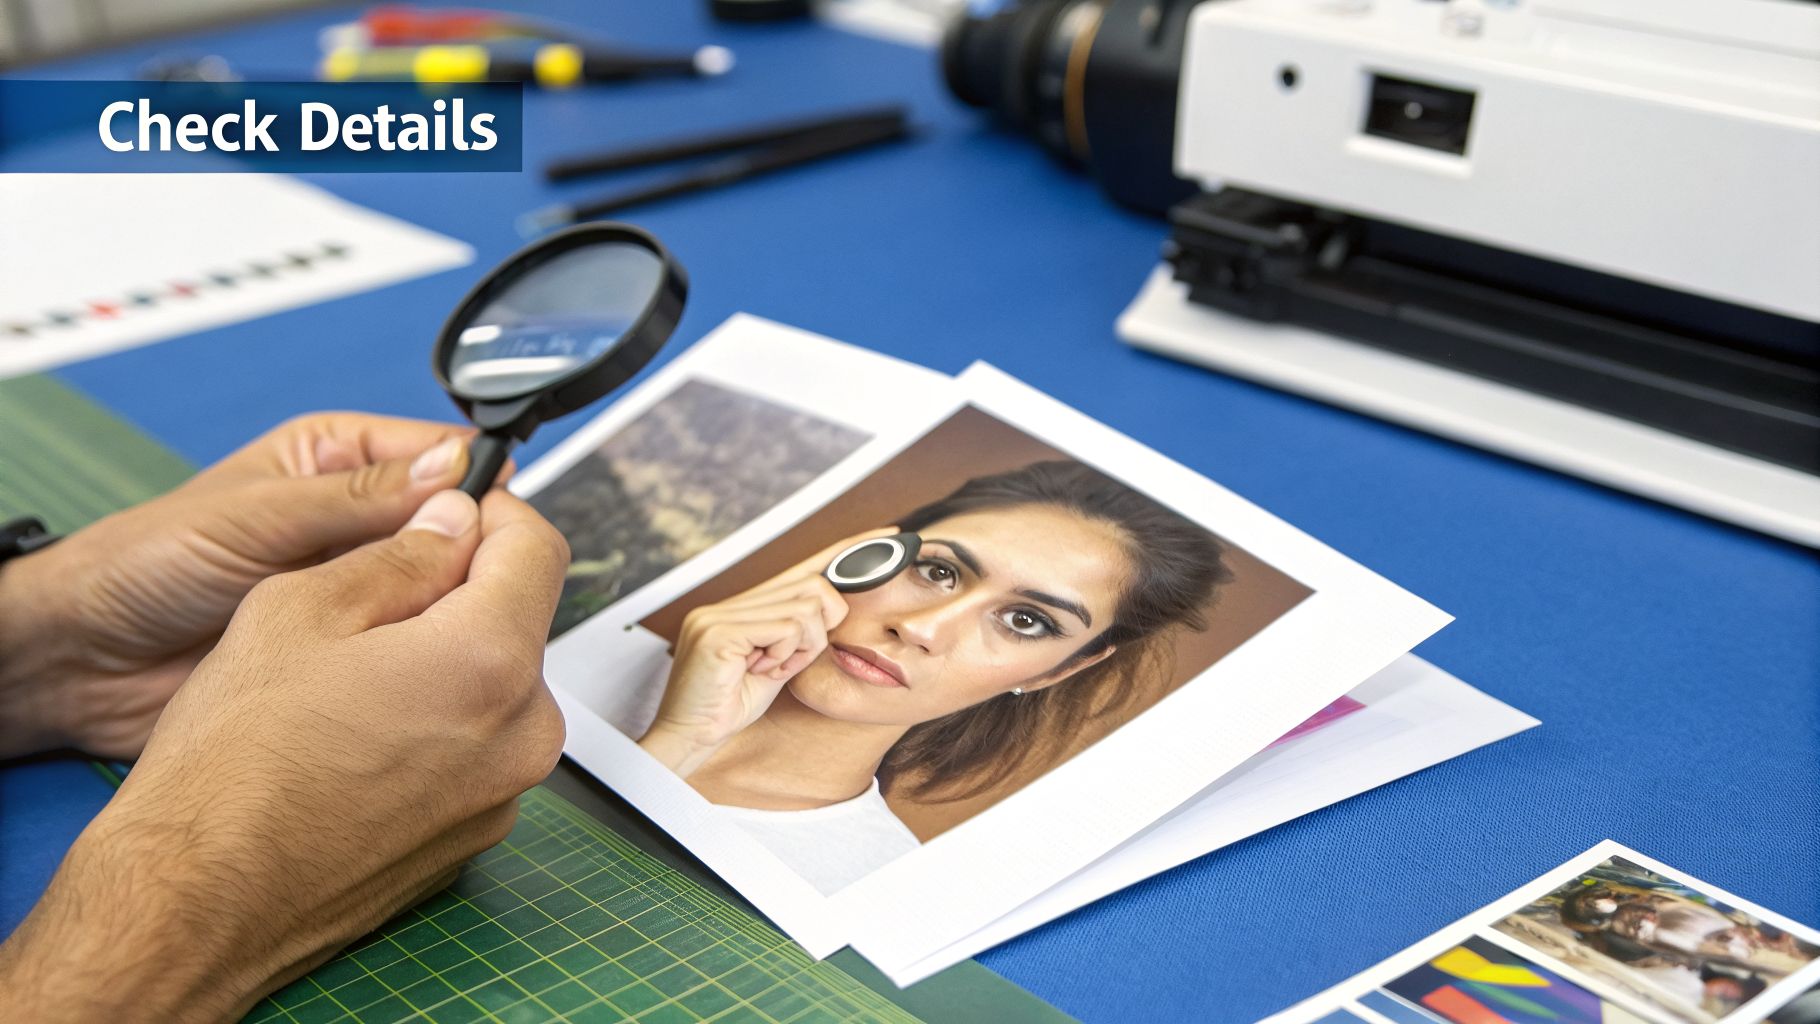
Scrolling through endless microshading before and after galleries is exciting, but knowing what you’re really looking at helps you choose a great artist. Not all photos tell the whole story, and learning to spot true artistry will help you manage your expectations and find the right professional.
A transformative result isn’t just about fuller brows; it’s about creating harmony and balance for your entire face. When you learn how to analyze a portfolio, you’re training your eye to see the subtle details that separate good work from exceptional work.
Check for facial symmetry and shape
The first thing to assess is the overall shape and how it complements the client’s face. A skilled artist never uses a one-size-fits-all stencil. They are brow architects, designing a custom shape that flows with the person's unique bone structure.
Look closely at the start of the brows, the placement of the arches, and the length of the tails. Do they create a sense of balance? The new brows should frame the eyes and look like they’ve always belonged there.
Evaluate color and saturation
Next, turn your attention to the color. The pigment should be a good match for the client's skin tone and natural hair color. One of the most common pitfalls is choosing a color that heals too warm (reddish) or too ashy (grayish)—a mistake a true expert with a deep understanding of color theory will avoid.
Also, examine the pigment saturation. High-quality microshading should have a soft, powdered finish with a gradient effect.
- The front of the brow should be lighter and more diffused.
- The arch and tail should be subtly darker and more defined.
- The color needs to be consistent, without any patchy or uneven spots.
Be on the lookout for overly edited photos. Unnaturally smooth skin, glowing brows, or identical lighting in every picture can be a red flag. True artists are proud to show their raw results in clear, unfiltered light, often from multiple angles.
To see these principles in action, take a look at the portfolio in browsbyainsley's before and after gallery. A quality gallery like this helps you see how results vary across different skin types and face shapes. Speaking of skin, even existing scars can be impacted by pigment procedures, which you can learn more about in our guide on whether scars can tan.
Key factors that influence your final brow results
Have you ever scrolled through a gallery of microshading before and after photos and wondered why the results look slightly different on each person? The final healed outcome isn't just about the artist's work; it’s a collaboration between the technician, your unique biology, and your daily habits.
Understanding these key factors is the best way to set realistic expectations for your own transformation.
Your skin type is probably the single most important variable. How oily or dry your skin is has a direct impact on how well it will grab and hold onto the pigment.
- Oily Skin: This skin type tends to heal with a softer, more diffused look. The excess oil can sometimes blur the crispness of the powder effect over time and often means the pigment will fade faster. You might find yourself needing a touch-up sooner.
- Dry Skin: If you have dry skin, you're in luck. It typically holds pigment exceptionally well, leading to crisp, defined, and long-lasting results. The lack of excess oil means less pigment migration and a slower fade rate.
- Combination Skin: As you might guess, results can be mixed. Oilier areas, like the T-zone, may fade more quickly than the drier parts of the brow.
Your lifestyle and skincare routine
Beyond your natural skin type, your day-to-day choices have a huge role in how long your brows will last. Certain skincare products and even just being outdoors can speed up the fading process more than you'd think.
For instance, if you frequently use products with retinoids, retinol, or exfoliating acids (like AHAs and BHAs) near your brows, you're accelerating your skin's cell turnover. While those ingredients are fantastic for your skin, they are the arch-nemesis of semi-permanent makeup, causing the pigment to lighten much faster.
Sun exposure is the other big one. UV rays are notorious for breaking down pigment and causing it to fade prematurely. Once your brows are fully healed, making a mineral-based sunscreen part of your daily routine is the best thing you can do to protect your investment and keep the color looking fresh.
Your final result is a team effort. The artist creates the shape and deposits the pigment, but your body's healing process and your commitment to aftercare are what truly determine the beauty and longevity of your new brows.
The artist's skill and industry growth
Finally, and this can't be overstated, your technician's experience is paramount. A truly skilled artist does more than just draw a shape; they understand color theory, know how to map brows to your specific facial anatomy, and can adapt their technique for every skin type they encounter.
Their ability to implant the pigment at the perfect depth is what ensures it heals beautifully and has staying power.
The growing demand for procedures like this shows the trust people are placing in skilled technicians. According to Precedence Research, the scalp micropigmentation services market, a closely related field, was valued at USD 2.97 billion in 2026 and is on track to hit USD 4.88 billion by 2034.
This growth shows how much results depend on the person holding the tool. That's why choosing a qualified, experienced, and reputable artist is the most important decision you'll make in this process.
Essential aftercare for long-lasting powder brows
So, you’ve left the studio with your gorgeous new powder brows. The journey to that perfect, healed microshading before and after result isn’t over yet—the most important part has just begun. What you do in the next couple of weeks is just as important as the artist's work itself.
Think of your aftercare routine as the final step in locking in that beautiful, even color. It all starts the moment you walk out the door. The single most important rule is to keep your brows completely dry for the first 7-10 days. This means getting creative with face washing and showering, because any excess moisture can dilute the pigment before it settles, leading to patchy healing and faded results.
Your daily aftercare checklist
Your artist will give you a specific plan, but most professional aftercare boils down to two simple things: gentle cleansing and light moisturizing. Following these steps meticulously helps the healing process without disrupting the delicate work.
- Gentle Cleansing: Twice a day, dampen a cotton swab with sterile water and softly blot the area. This isn't about scrubbing; it’s about gently lifting away any lymph fluid to prevent thick, heavy scabs from forming. Pat them dry immediately with a clean tissue.
- Apply Ointment Sparingly: After cleansing, use a clean finger or a new cotton swab to apply a tiny, rice-grain-sized amount of the healing ointment. A thin, breathable layer is all you need. Using too much can suffocate the skin, clog pores, and actually hinder healing.
Knowing what to do is half the battle, but knowing what not to do is just as important. For more on protecting your brow investment, these essential tips for long-lasting brow results offer some great additional insights.
Activities and products to avoid
For the initial two-week healing period, you'll need to protect your brows from anything that could compromise the pigment. Some of these might seem like a hassle, but there’s a good reason for every single one.
Steer clear of these to guarantee the best outcome:
- Intense Workouts: Sweat is your enemy here. The salt in your sweat can pull the pigment out of your skin.
- Swimming and Saunas: Chlorine, saltwater, and steam are a big no-no because they can cause the color to fade dramatically.
- Direct Sun Exposure: UV rays are a major cause of premature fading for any cosmetic tattoo. If you have to be outside, a wide-brimmed hat is non-negotiable.
- Brow Makeup: Don't even think about it. Applying makeup to the healing skin can introduce bacteria and cause a nasty infection.
- Certain Skincare: Keep any products with retinoids, exfoliating acids (like AHAs or BHAs), or physical scrubs far away from your brows. These ingredients accelerate skin cell turnover, which will fade your new brows right along with it.
Remember: Following aftercare isn't just a friendly suggestion—it’s how you protect your investment. Diligent care ensures your brows heal evenly, the color stays true, and you end up with the stunning results you were hoping for.
On a related note, if you’re ever curious about simple ways to manage skin sensitivity after a procedure, you can learn what icing your face does in one of our other guides.
Common questions about microshading
It's completely normal to have a few last questions, even after you've seen stunning microshading before and after photos. Making the decision to get a semi-permanent cosmetic treatment is a big one, and feeling confident means getting clear on all the little details first.
We've put together this quick guide to answer the most common questions we hear from clients. Think of it as the final step in feeling fully prepared and excited for your brow transformation.
Is the microshading procedure painful?
This is easily the number one question we get, and the answer is almost always a pleasant surprise: most clients report very little to no pain. Before any work begins, your artist will apply a strong topical numbing cream to the brow area.
This anesthetic is effective and is often reapplied during the session to keep you comfortable from start to finish. The sensation is typically described as a light scratching or a mild vibration—nothing like the pain of a traditional body tattoo. The entire process is built around your comfort.
How long will my microshading last?
Microshading is designed to be long-lasting but not permanent, giving you beautifully defined brows for anywhere from 1 to 3 years.
How long your results last depends on a few key factors:
- Skin Type: If you have oily skin, you might find the pigment fades a bit faster. These clients often find a touch-up closer to the 12-month mark keeps things looking fresh.
- Skincare Routine: Be careful with products containing retinol or exfoliating acids around your brows because they accelerate skin cell turnover, which can cause the pigment to lighten prematurely.
- Sun Exposure: Just like any color, UV rays will break down the pigment over time. Protecting your brows from the sun is key to longevity.
To keep the shape crisp and the color vibrant, most artists recommend a color boost or touch-up appointment every 12-18 months.
It's completely normal for your brows to appear much darker and bolder immediately after your appointment. The pigment will soften and lighten by about 30-40% during the 4-6 week healing process. The true, healed color will only be visible after the skin has fully regenerated.
Can I get microshading over my old microblading?
Yes, absolutely. This is one of the most common reasons clients come to us for microshading. It's an effective way to cover up old, faded microblading, especially for those wanting to shift from a hair-stroke look to a softer, filled-in powder brow.
A consultation is a must. The artist needs to see your existing pigment in person to make sure a cover-up is the right move.
If the old tattoo is too dark, oversaturated, or the shape is unflattering, a direct cover-up might not give you the clean result you want. In these cases, your artist will likely recommend a few sessions of saline tattoo removal first. This process gently lifts the old ink, creating a clear canvas so your new microshading before and after result is flawless, not muddy.
At Weyergans HighCare US, we believe that feeling great on the outside starts with advanced care from within. The Vacustyler Avantgarde enhances aesthetic outcomes and promotes recovery by improving circulation, making it the perfect complement to your wellness routine. Discover how our German-engineered technology can elevate your facility's offerings at https://weyerganshighcareus.com.